
Joanna
Storyboarding - Script to Screen
I storyboarded the film after the director, Cyril Meyer and I shotlisted every scene. This was about 1.5 months before the shoot date and it gave me plenty of time to evaluate and plan for them. For every project I do I prefer to have some form of storyboarding just so the director and I can get on the same page about the look and flow of the film. It's always easier to communicate the vision this way and to develop the film from there. The following pictures show the before and after transformation from our pre-production discussions to the final shot.
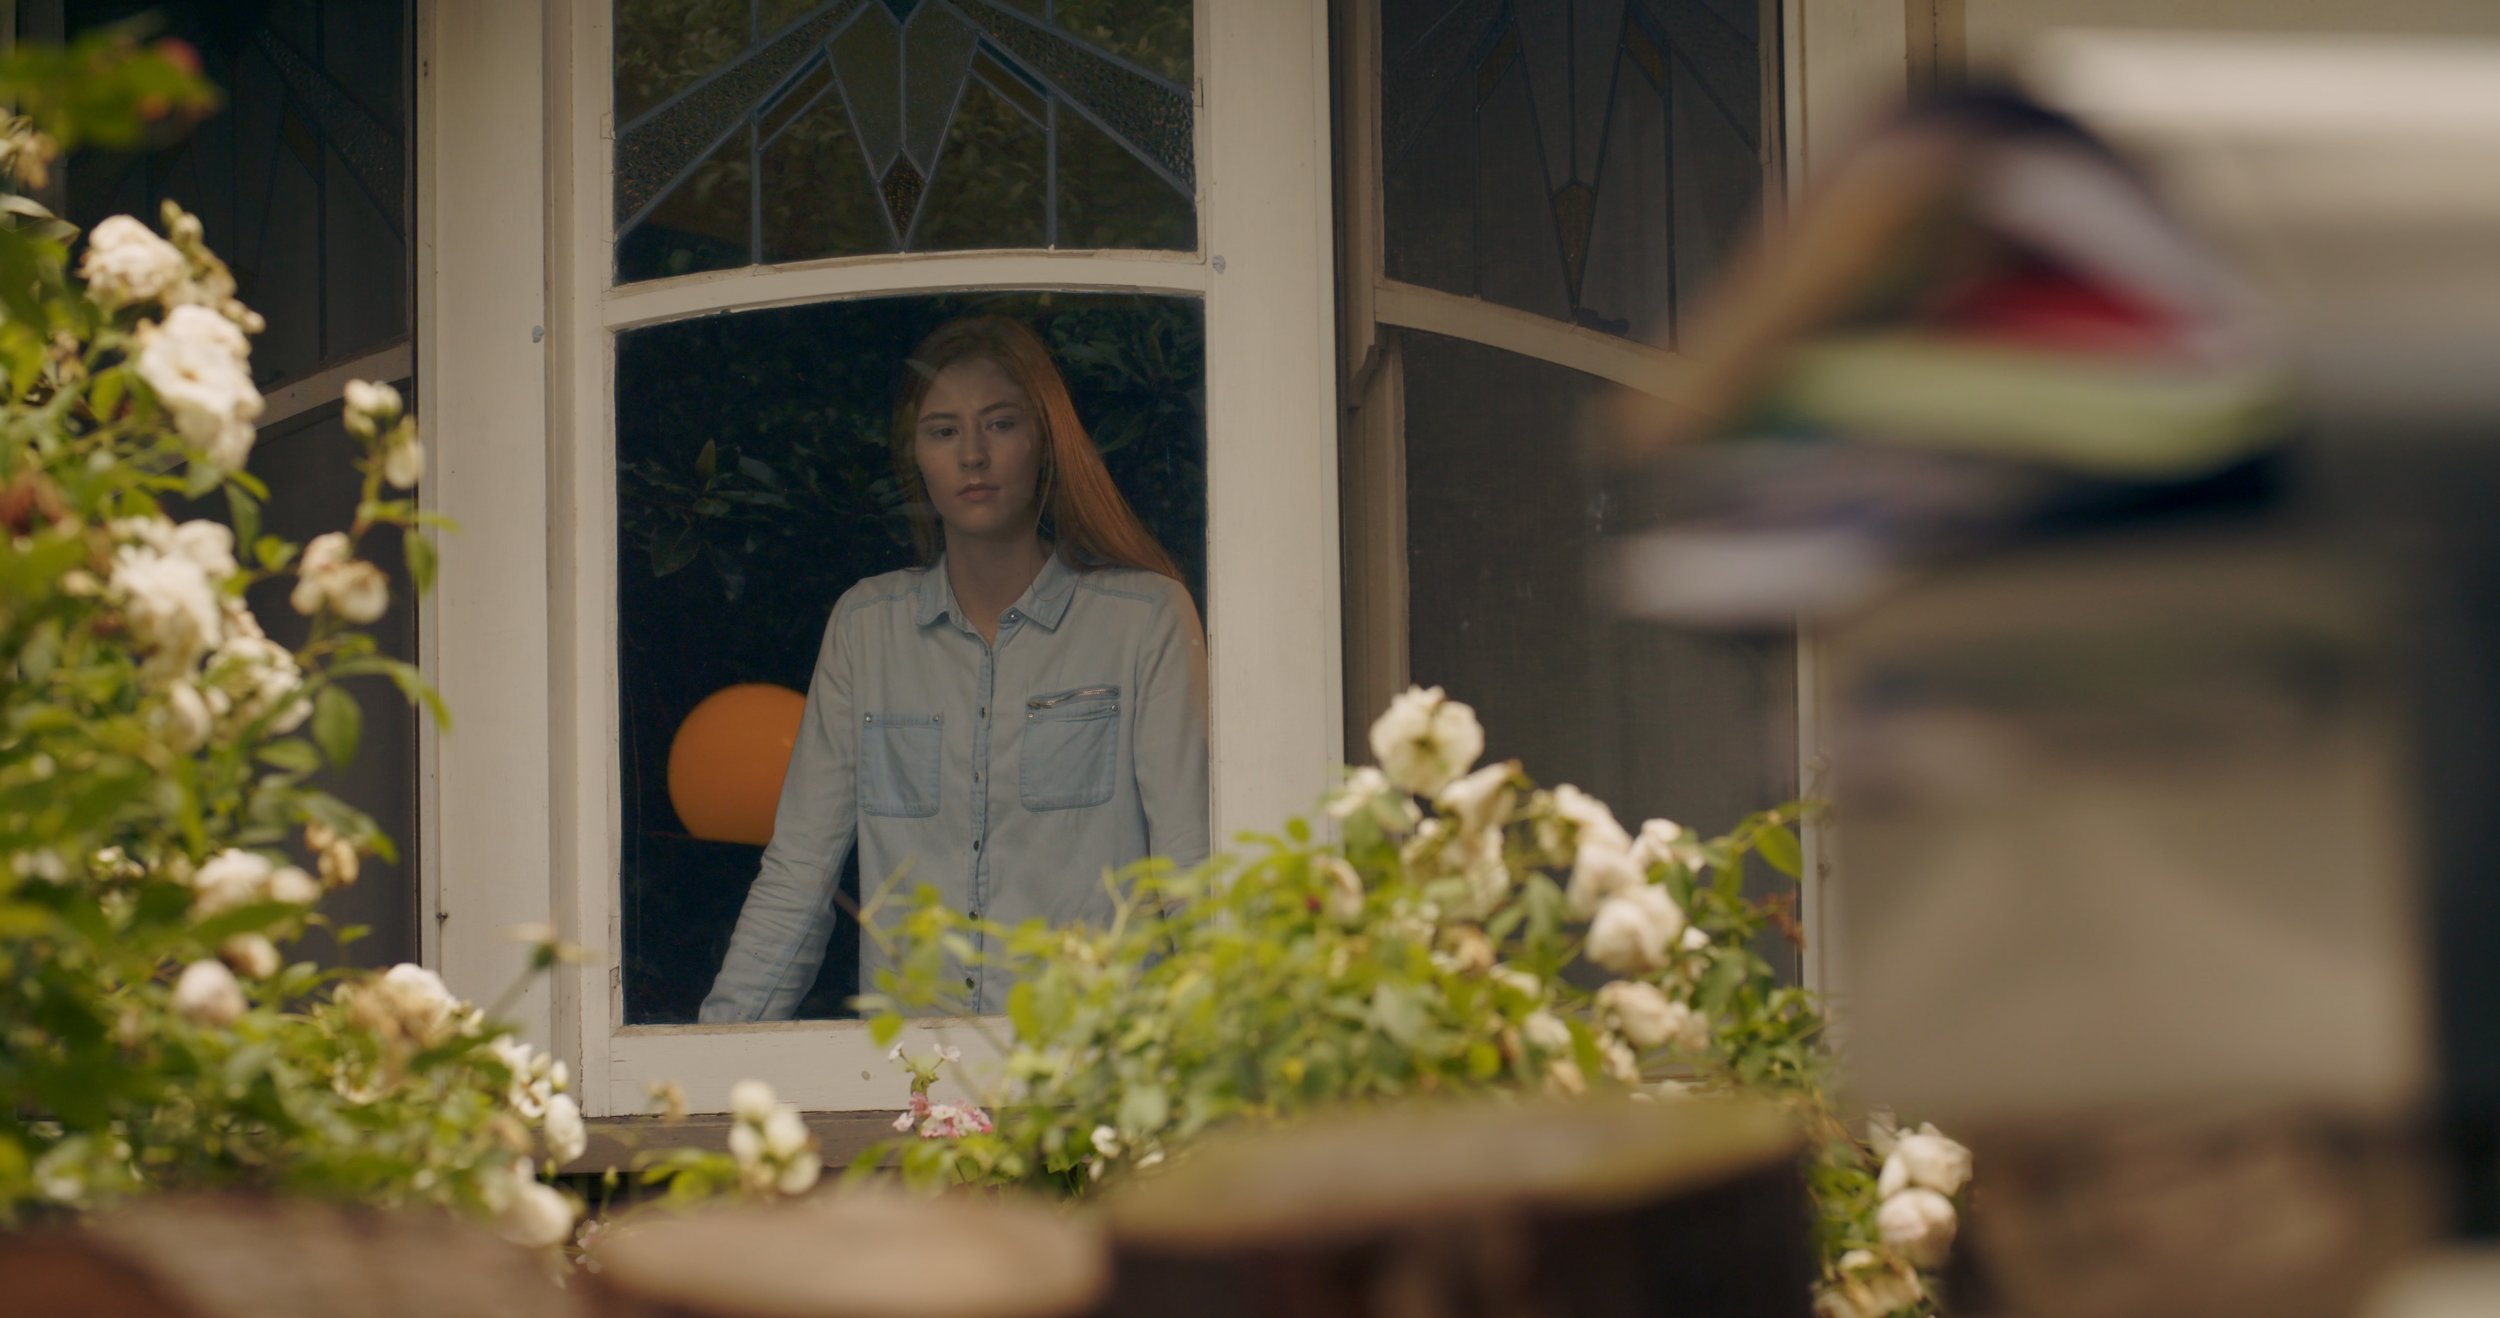
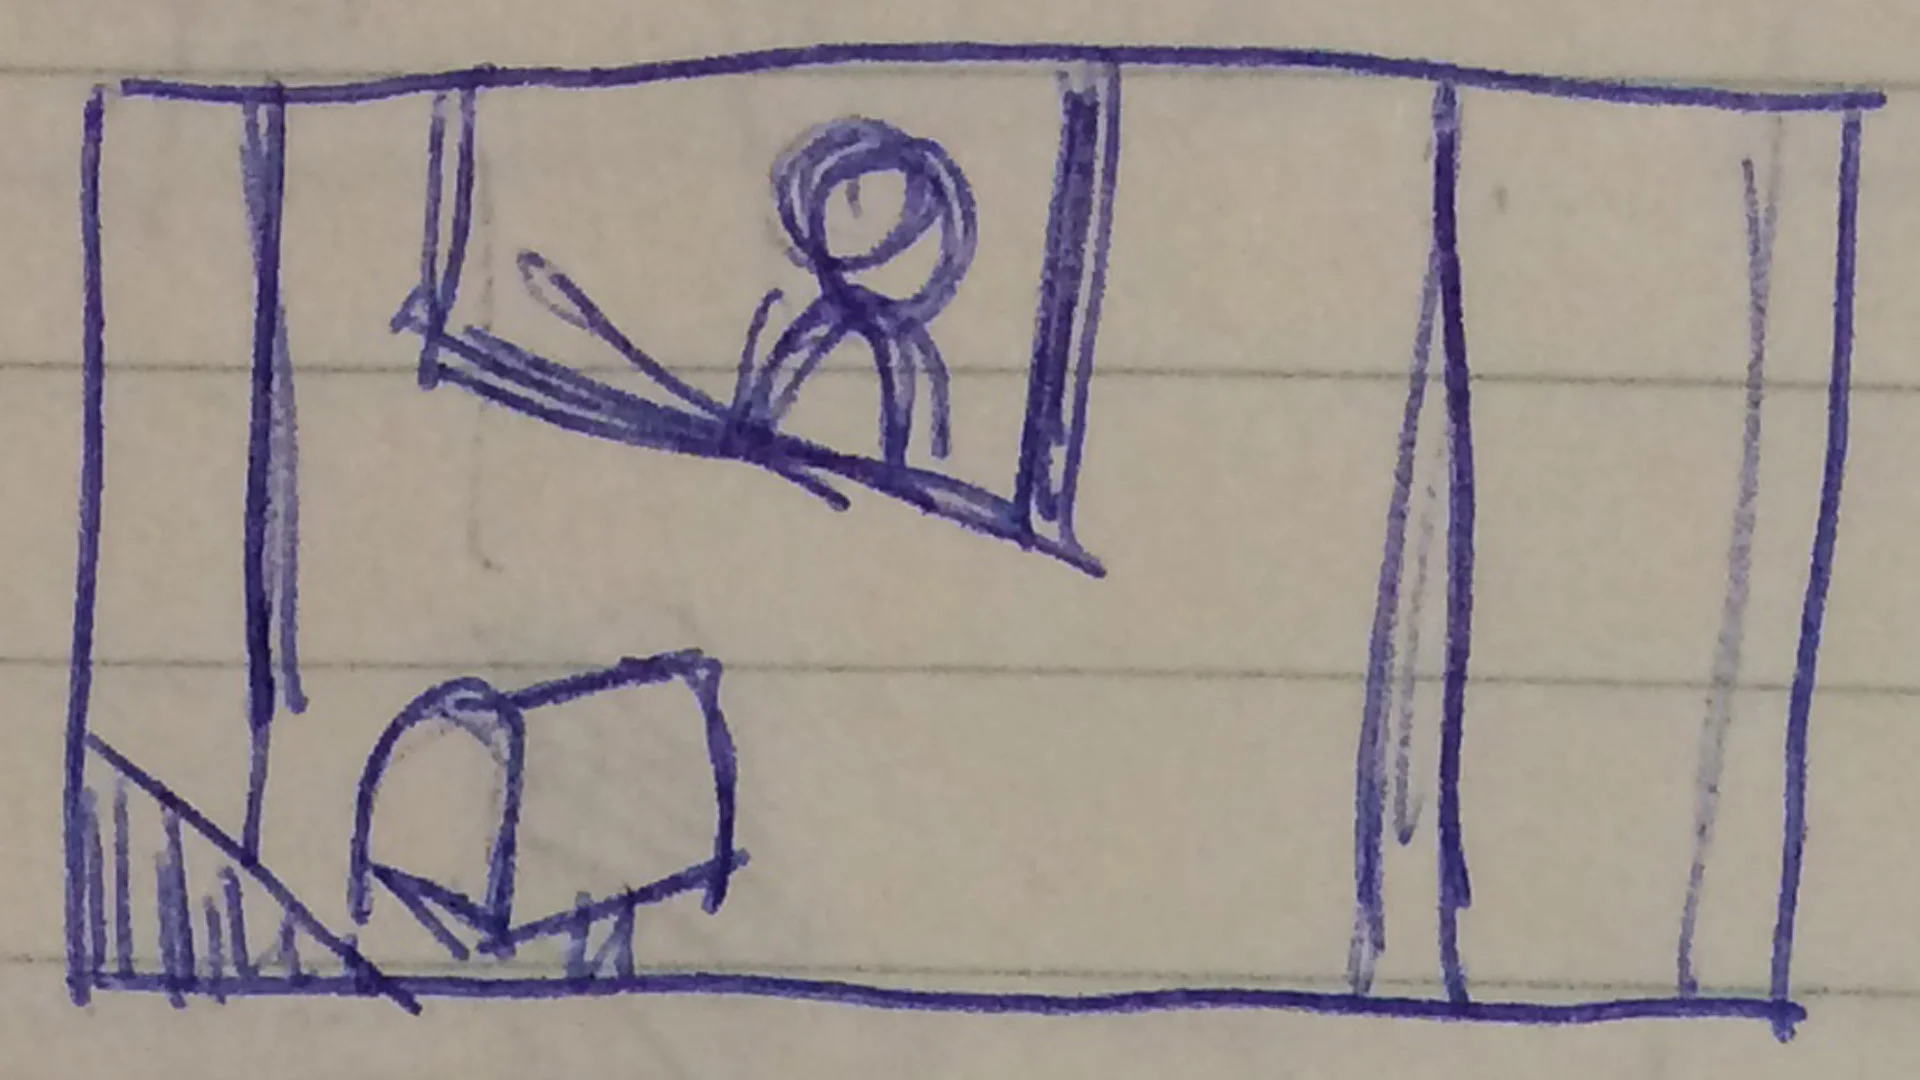
The full letterbox was a metaphor of Joanna's state of mind. Her head is bursting with thoughts and she can't clear it. We wanted to box her in so we framed her in the window and I surrounded her with objects of nature, the exterior which she longs for.
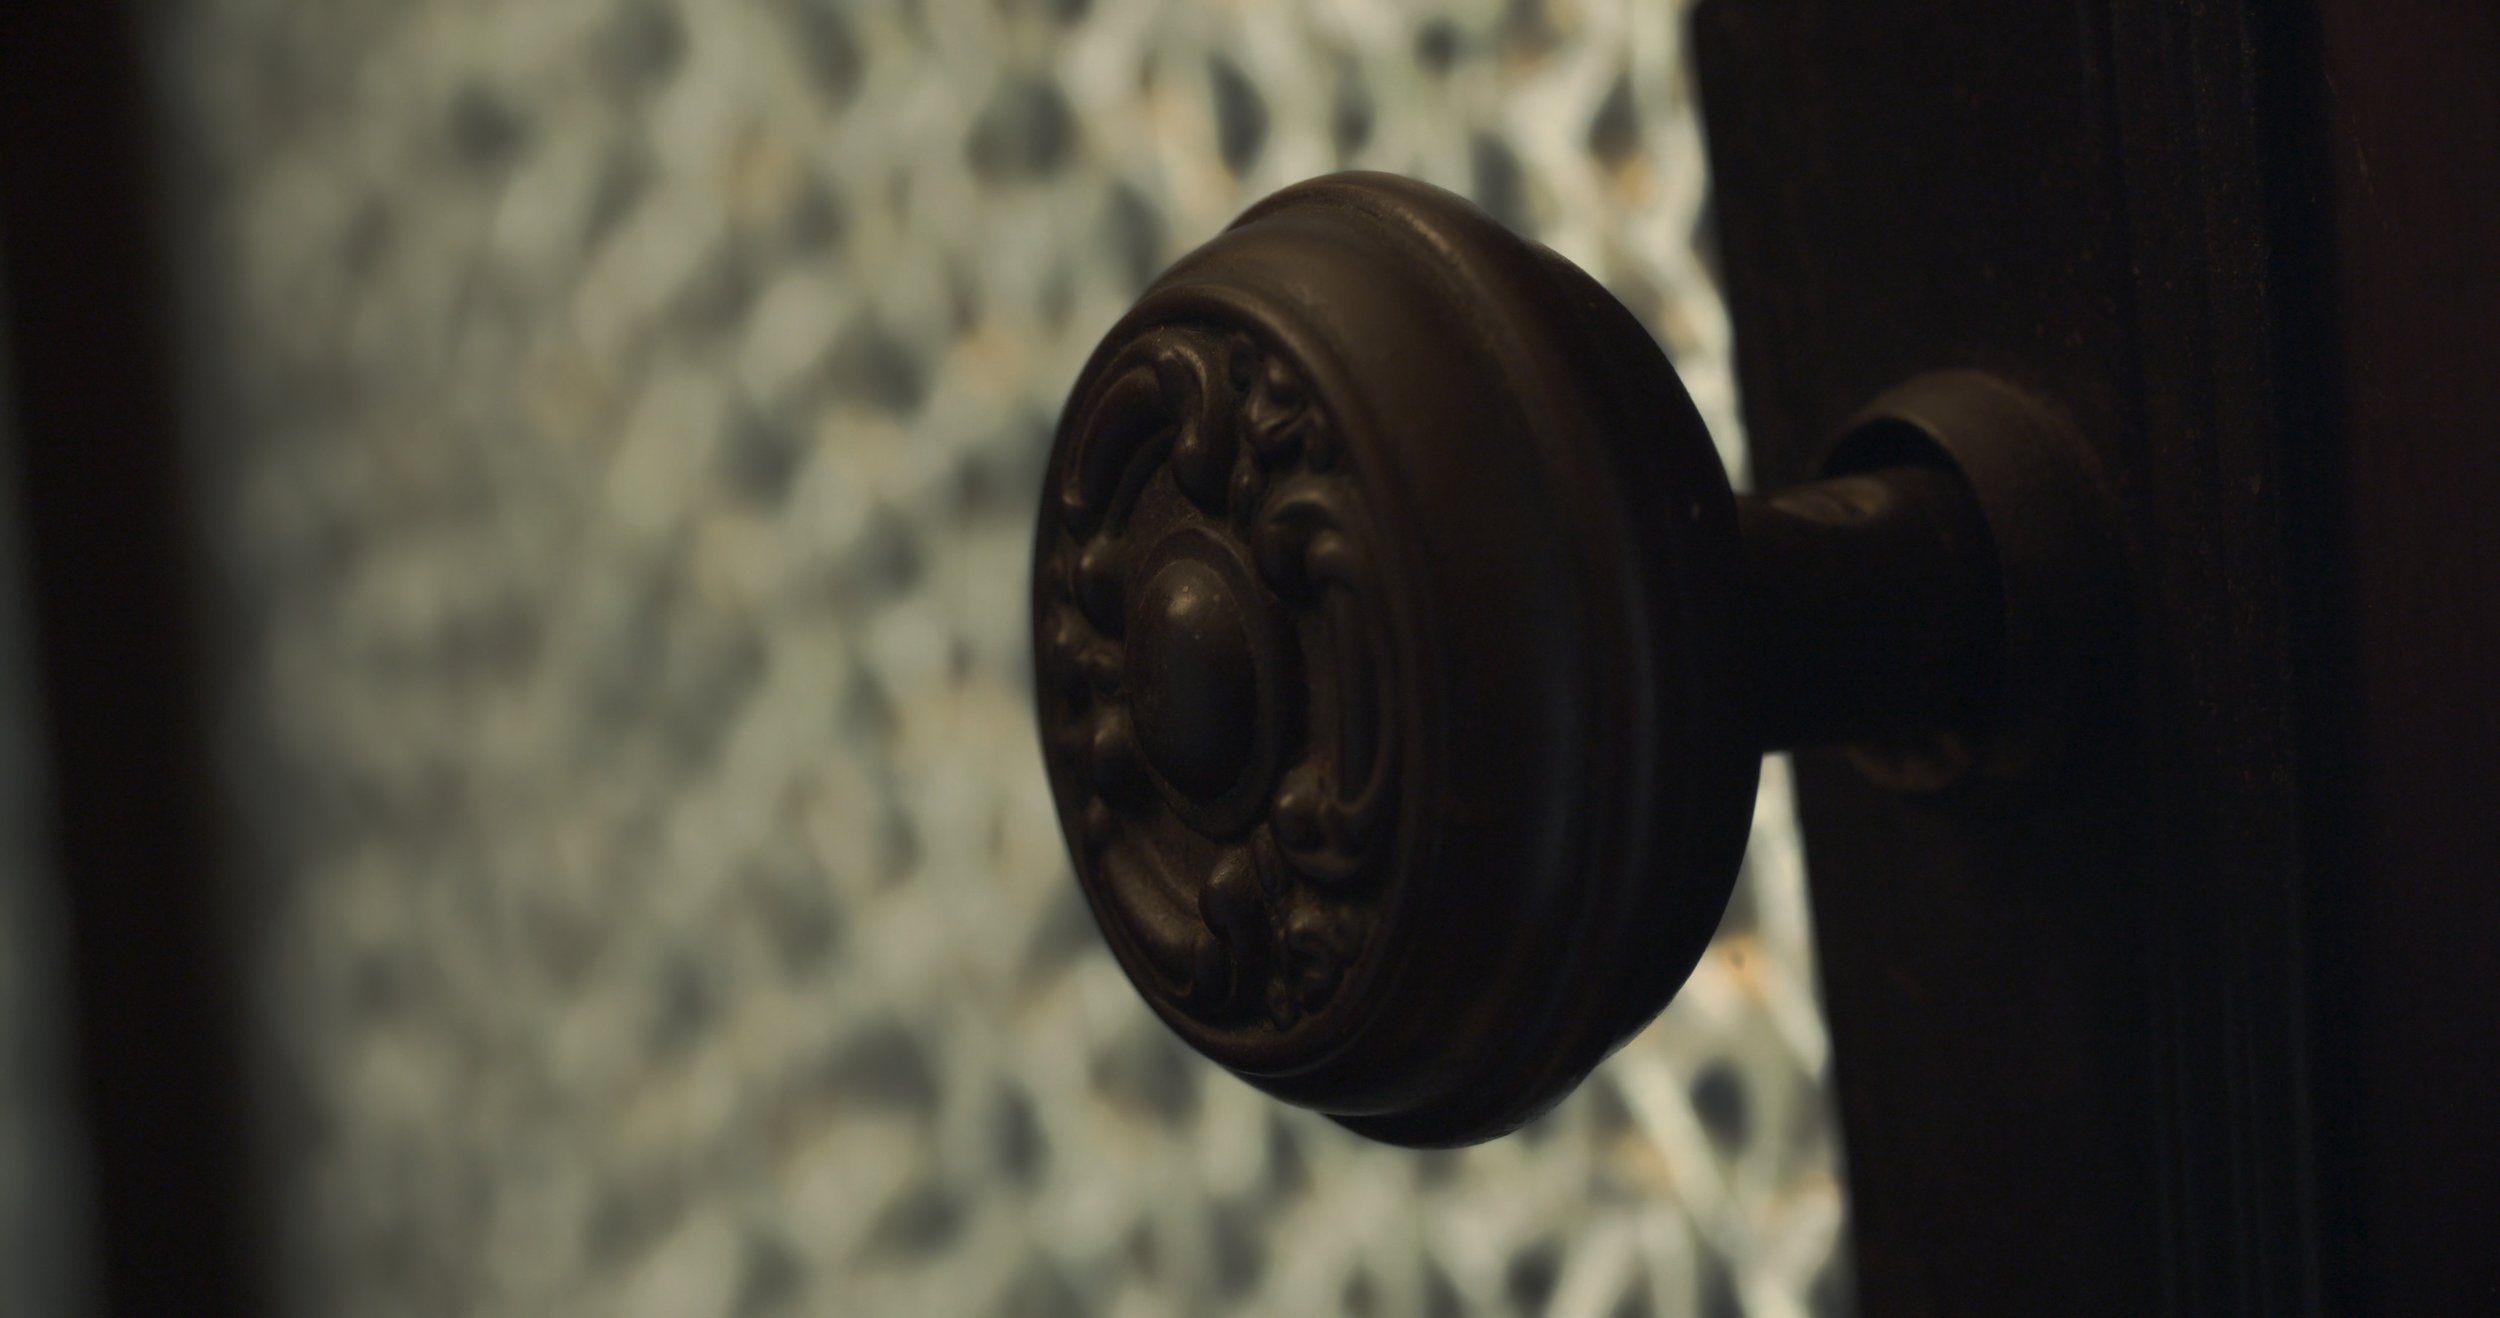
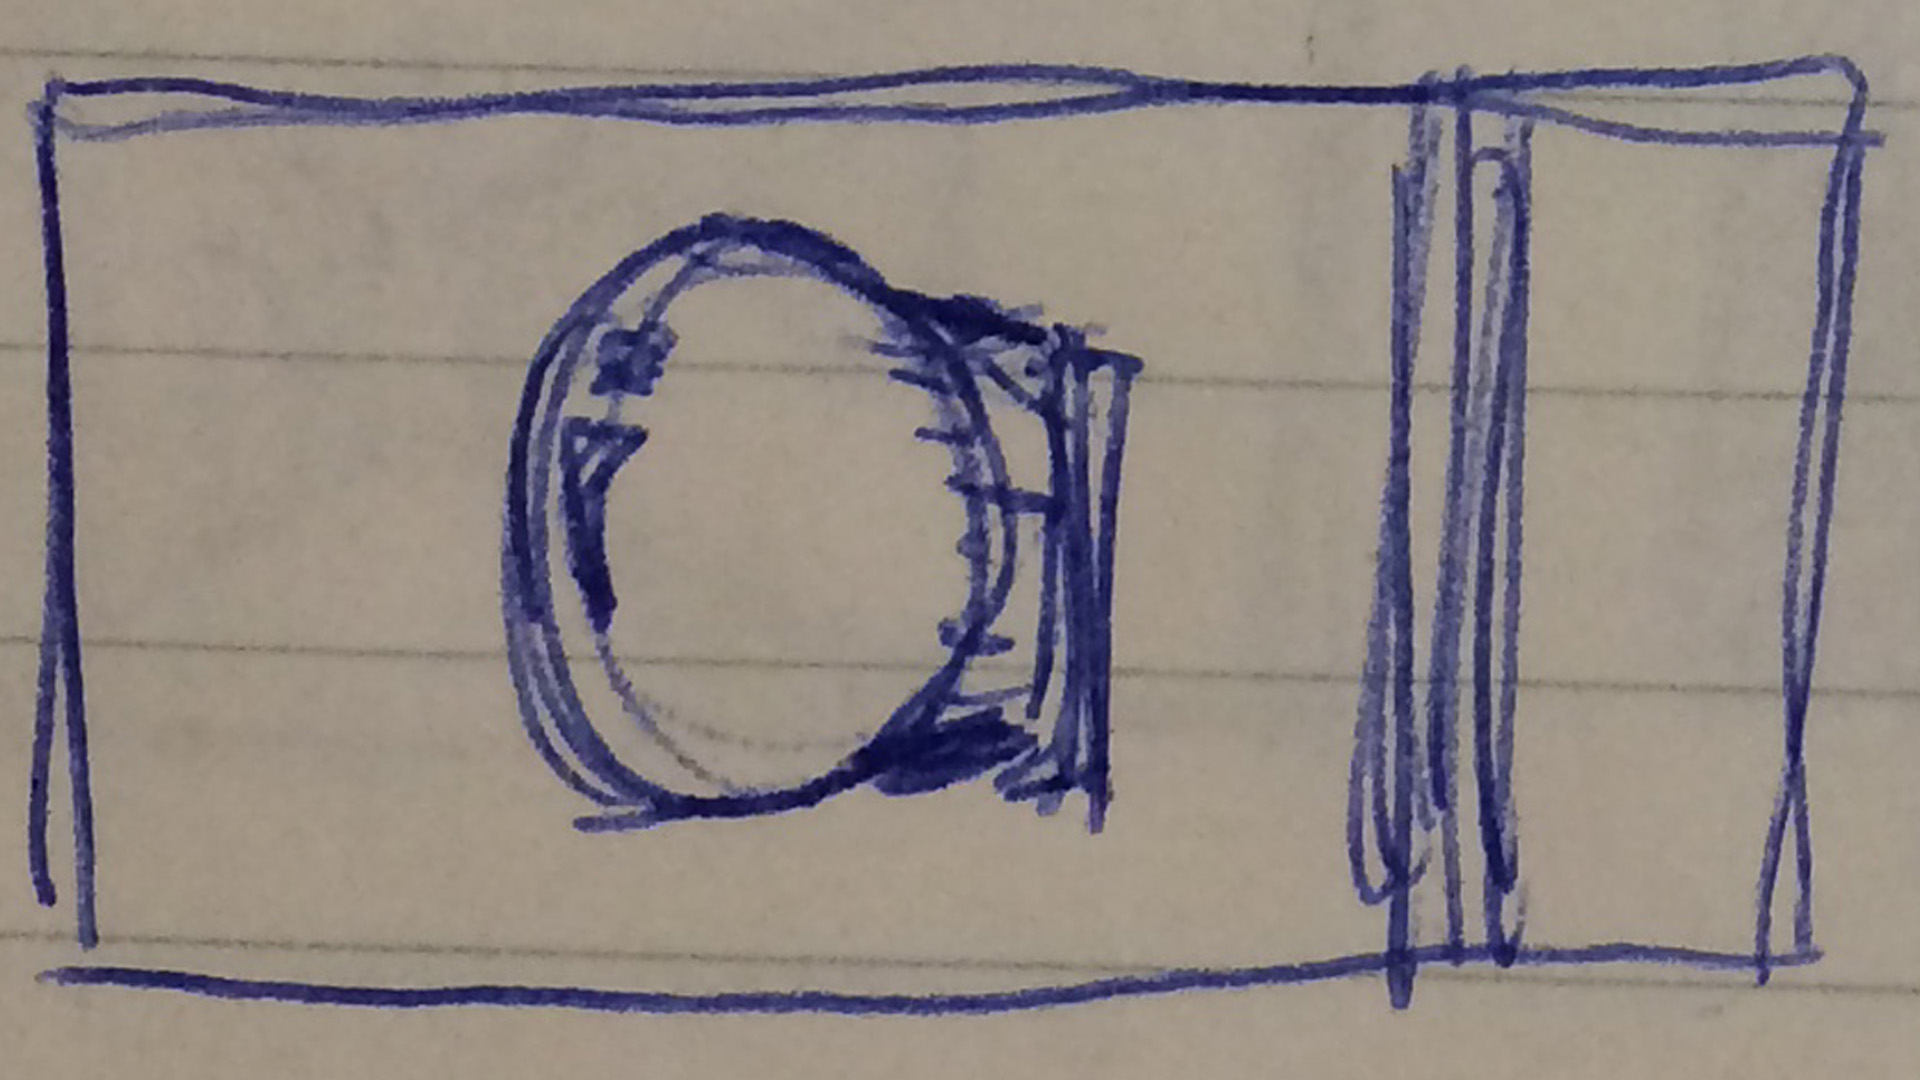
The door knob which physically separates Joanna from the outside world. During production I decided on a dutch angle to introduce some uneasiness into the scene.


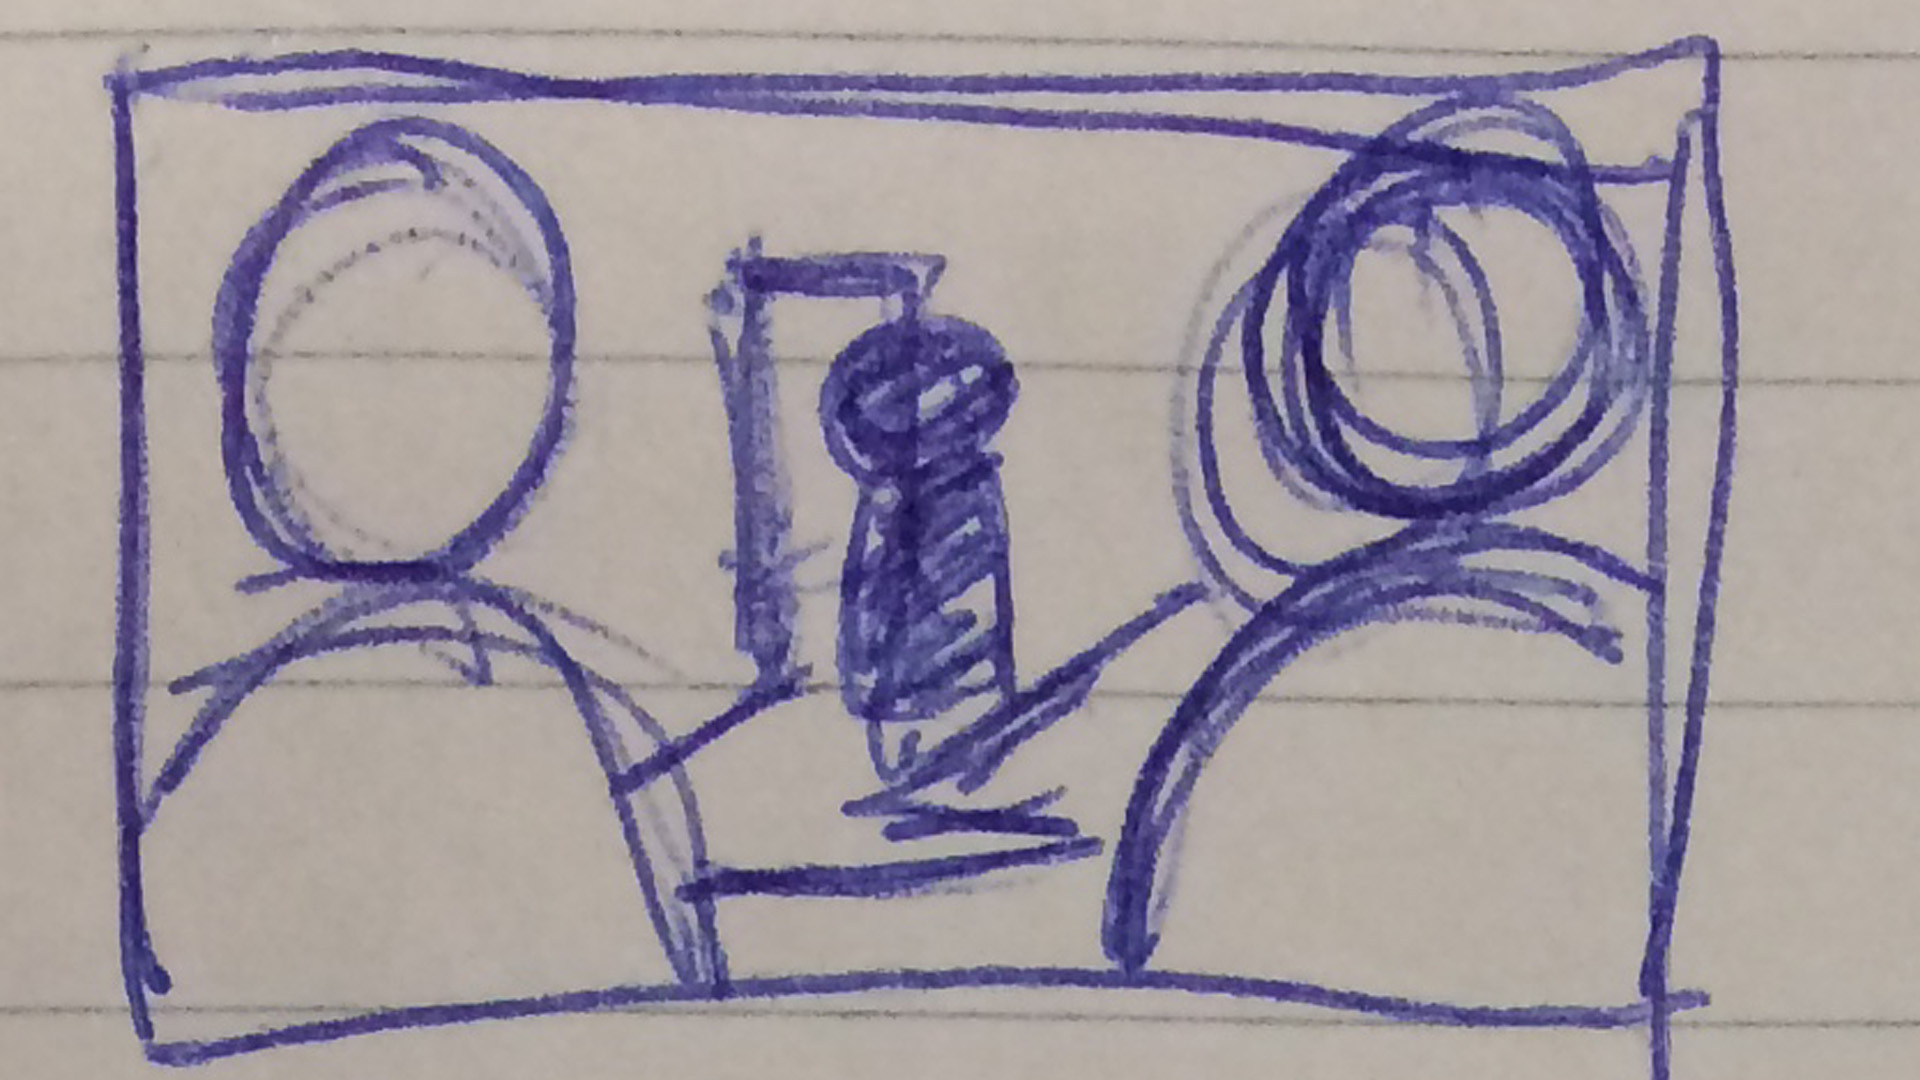
This three shot was just to establish the positions of the characters during the scene. It was also an opportunity for me to experiment with a new set up I wanted to test.
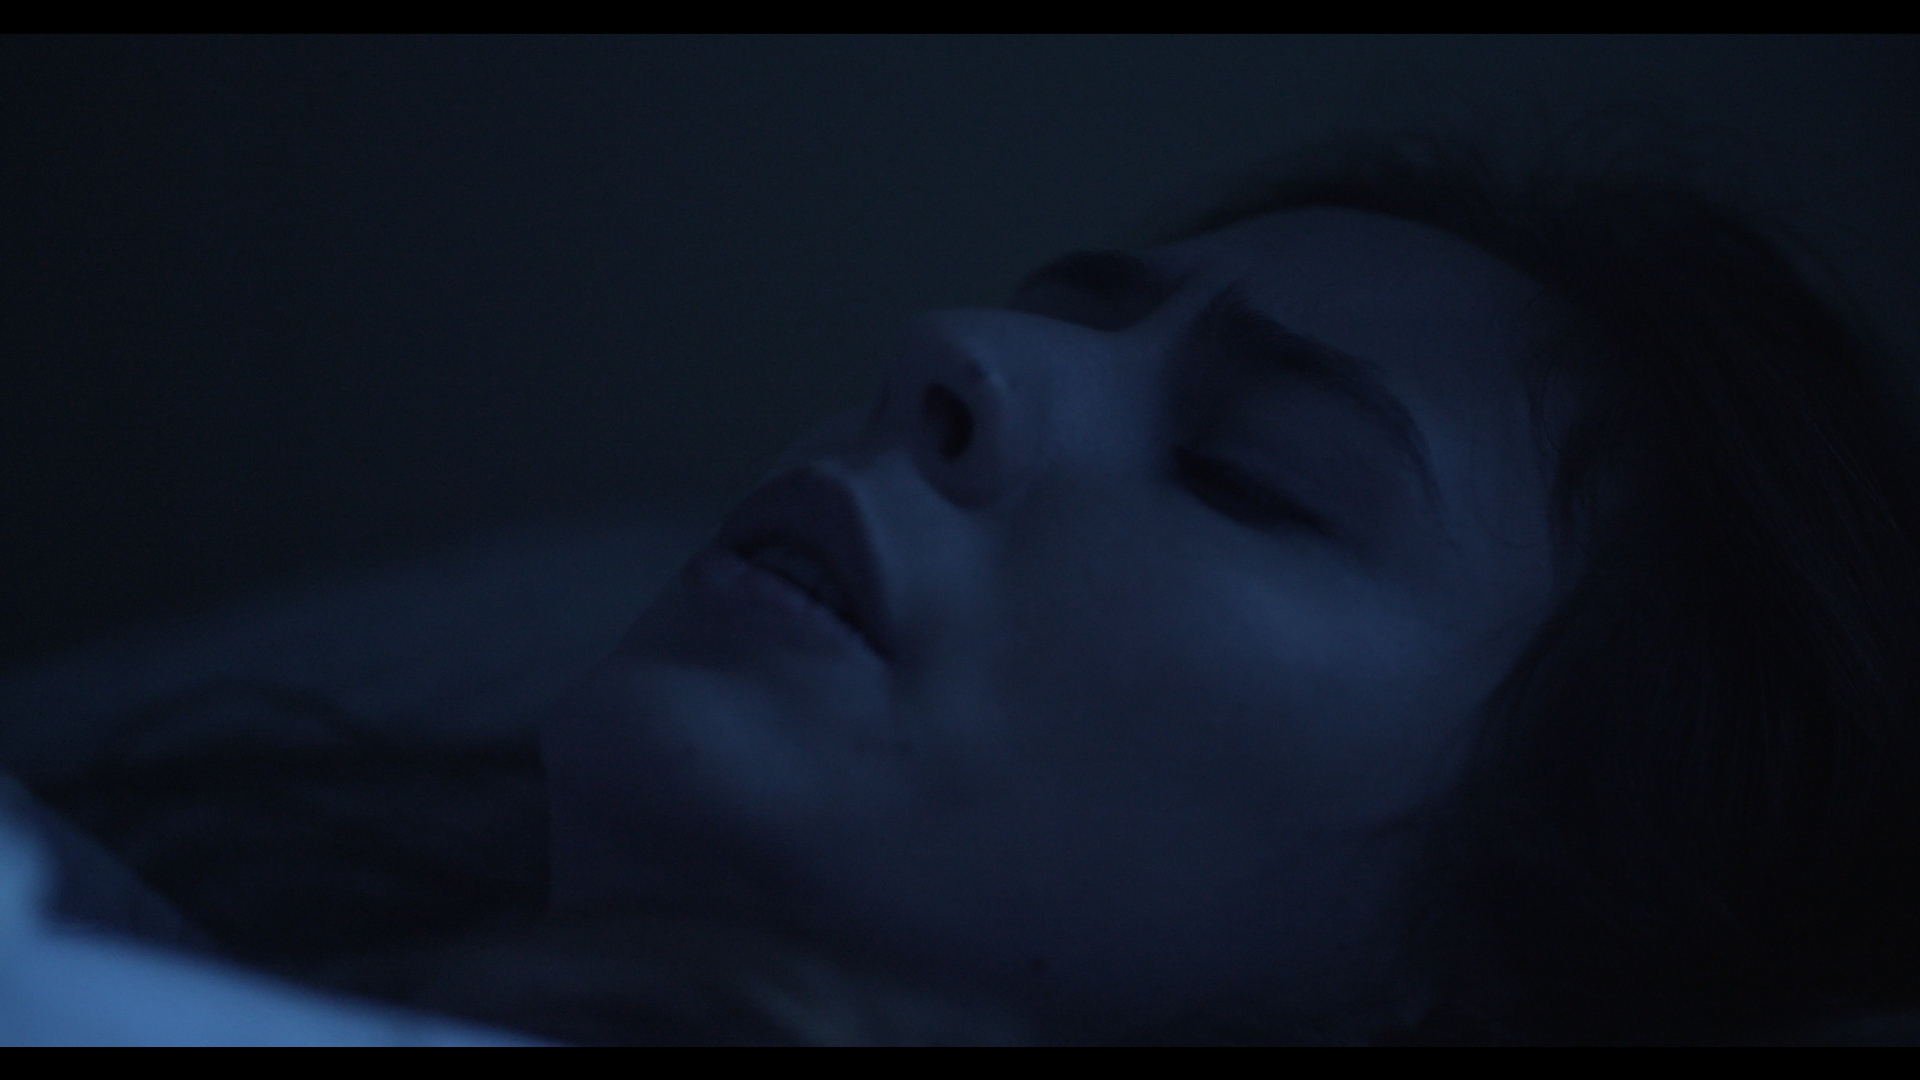
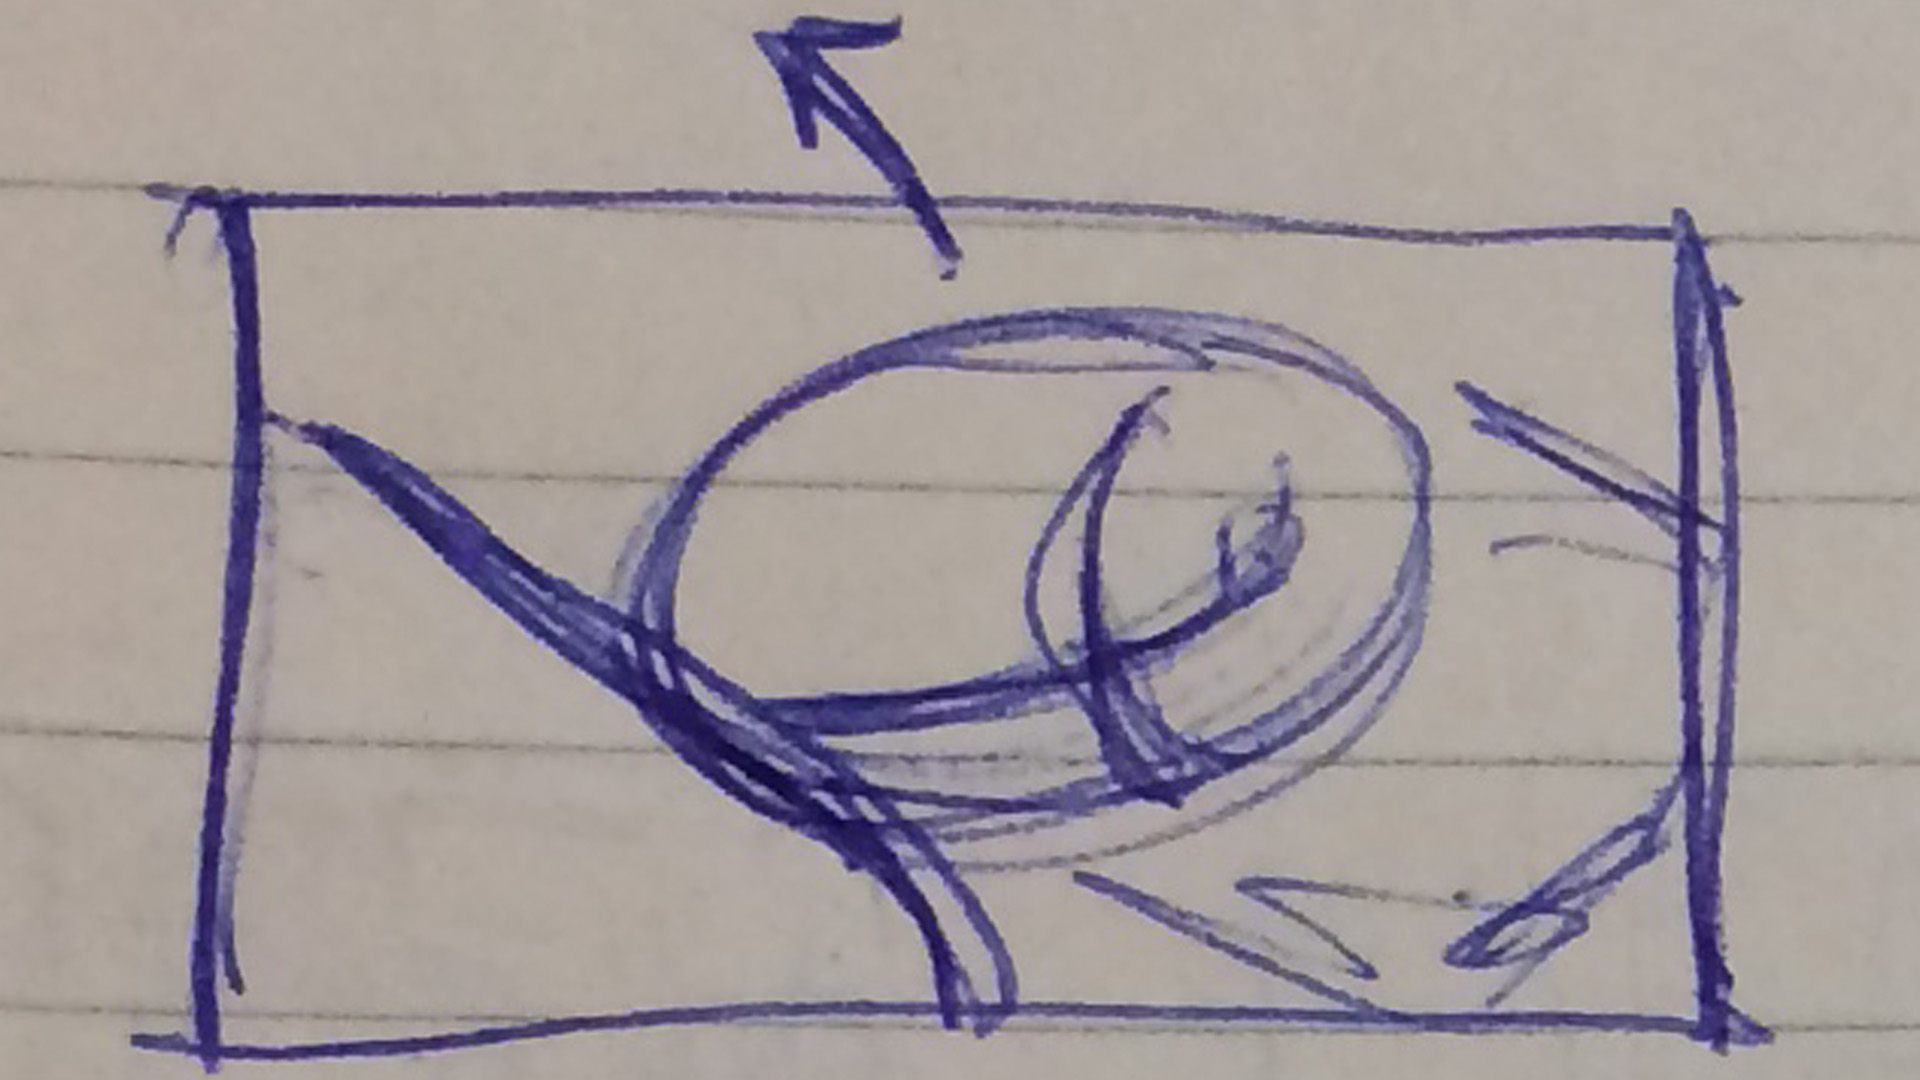
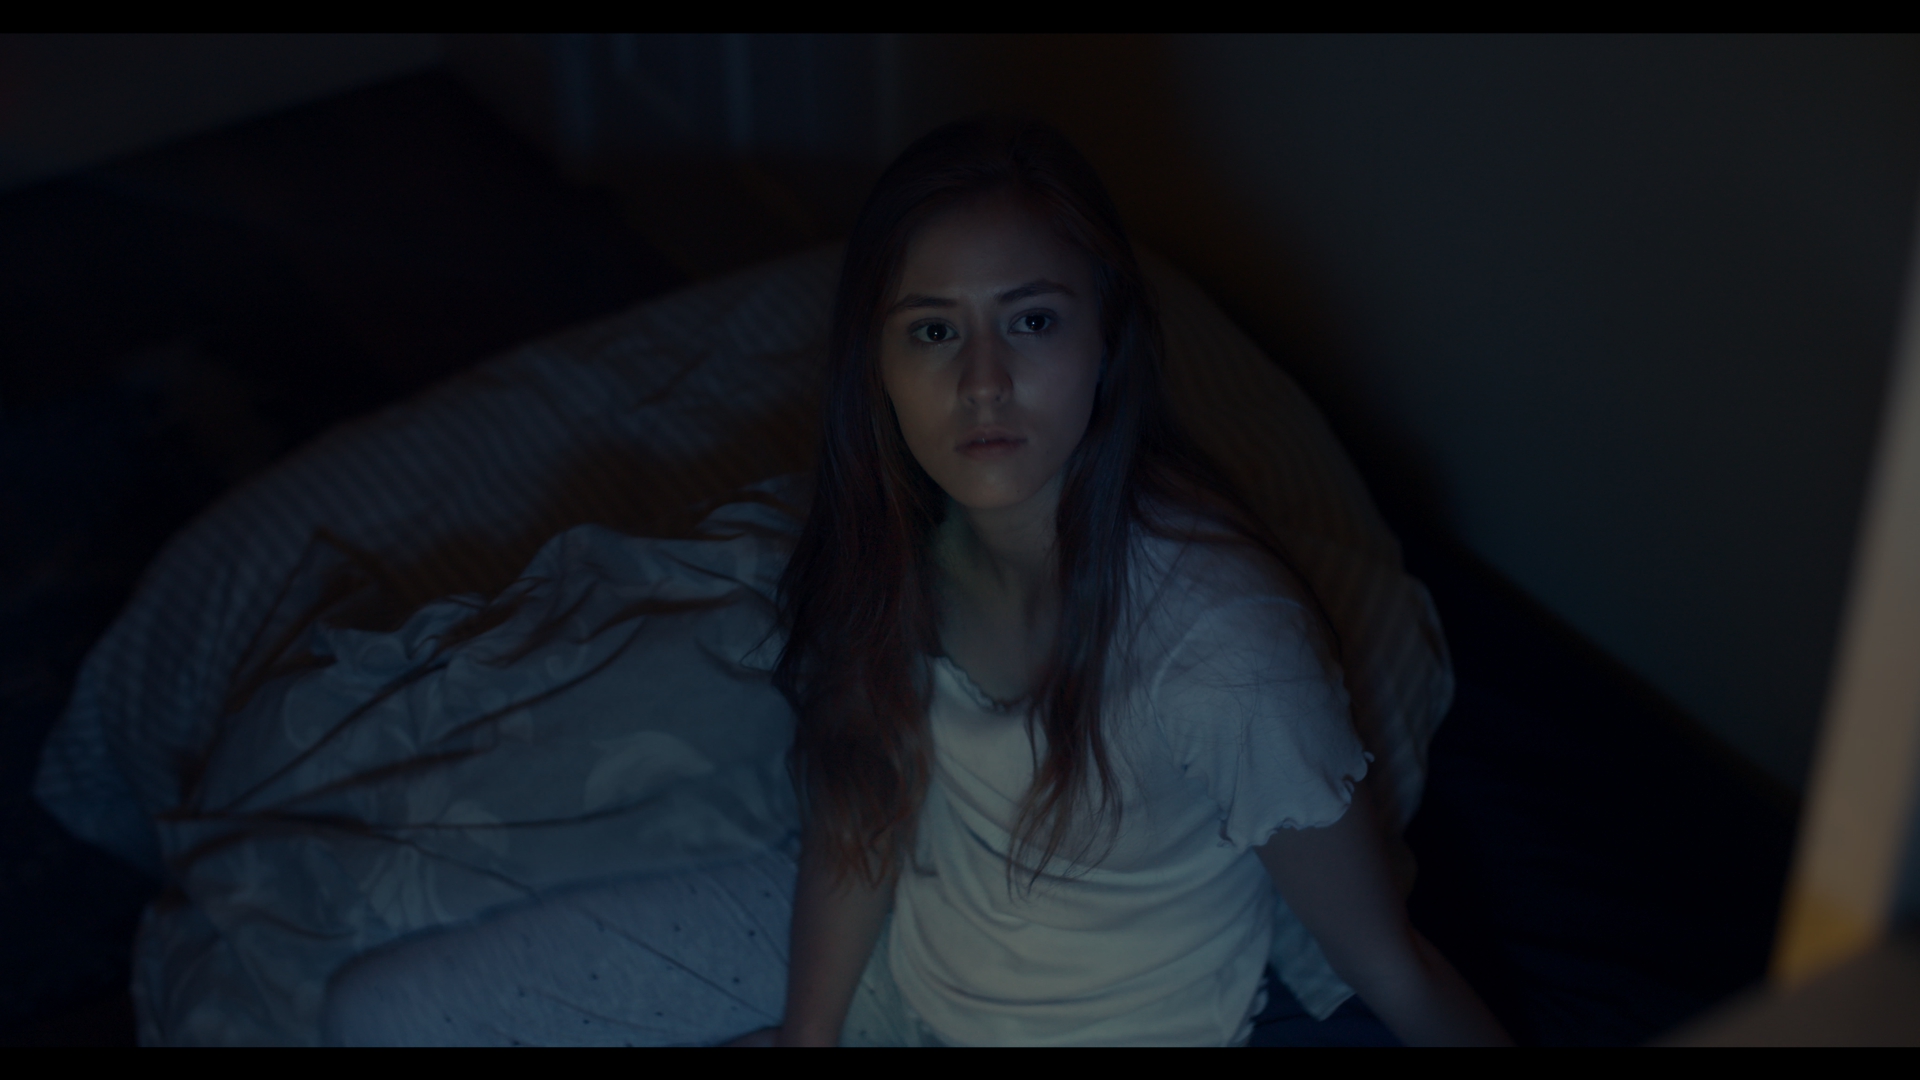
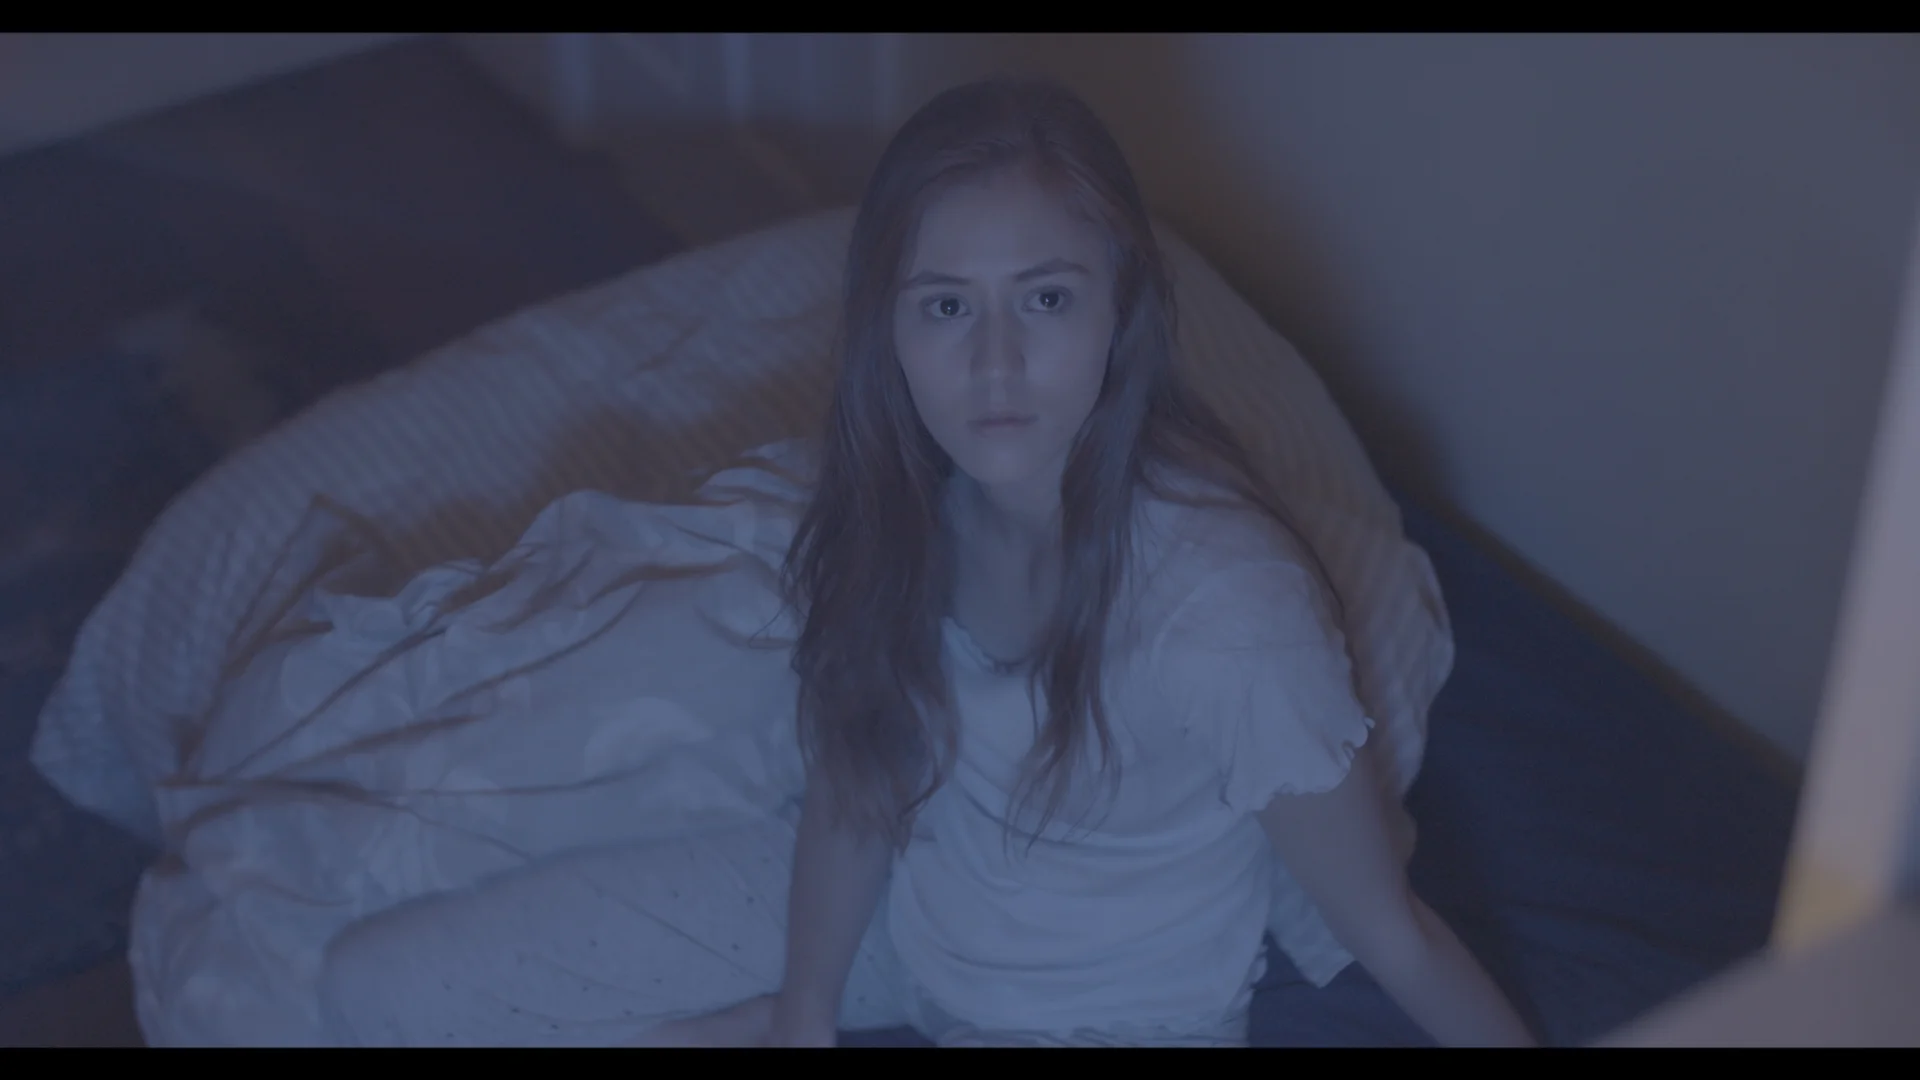
The preceding shot was the nightmare scene. We wanted to get up close and personal to really feel her discomfort. The cool moonlight tone was also a nice contrast against the hot red of the nightmare.
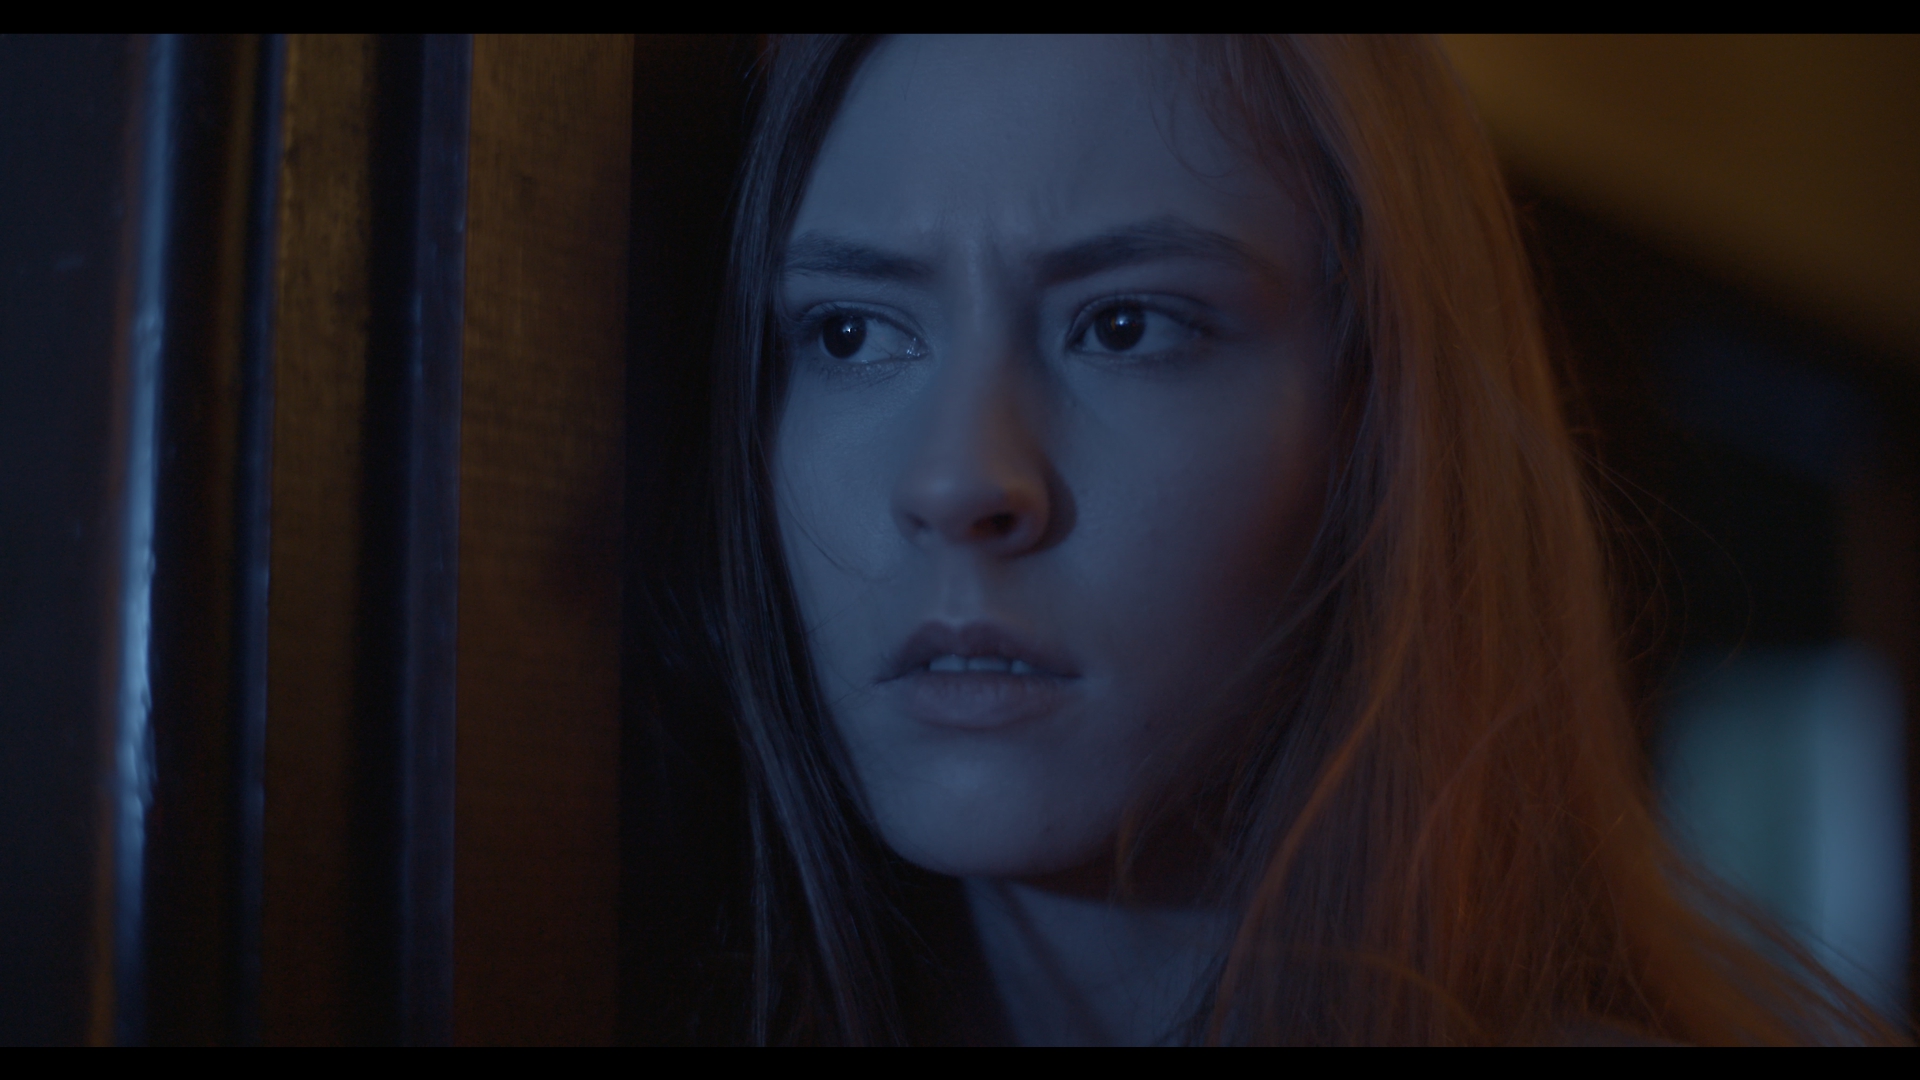
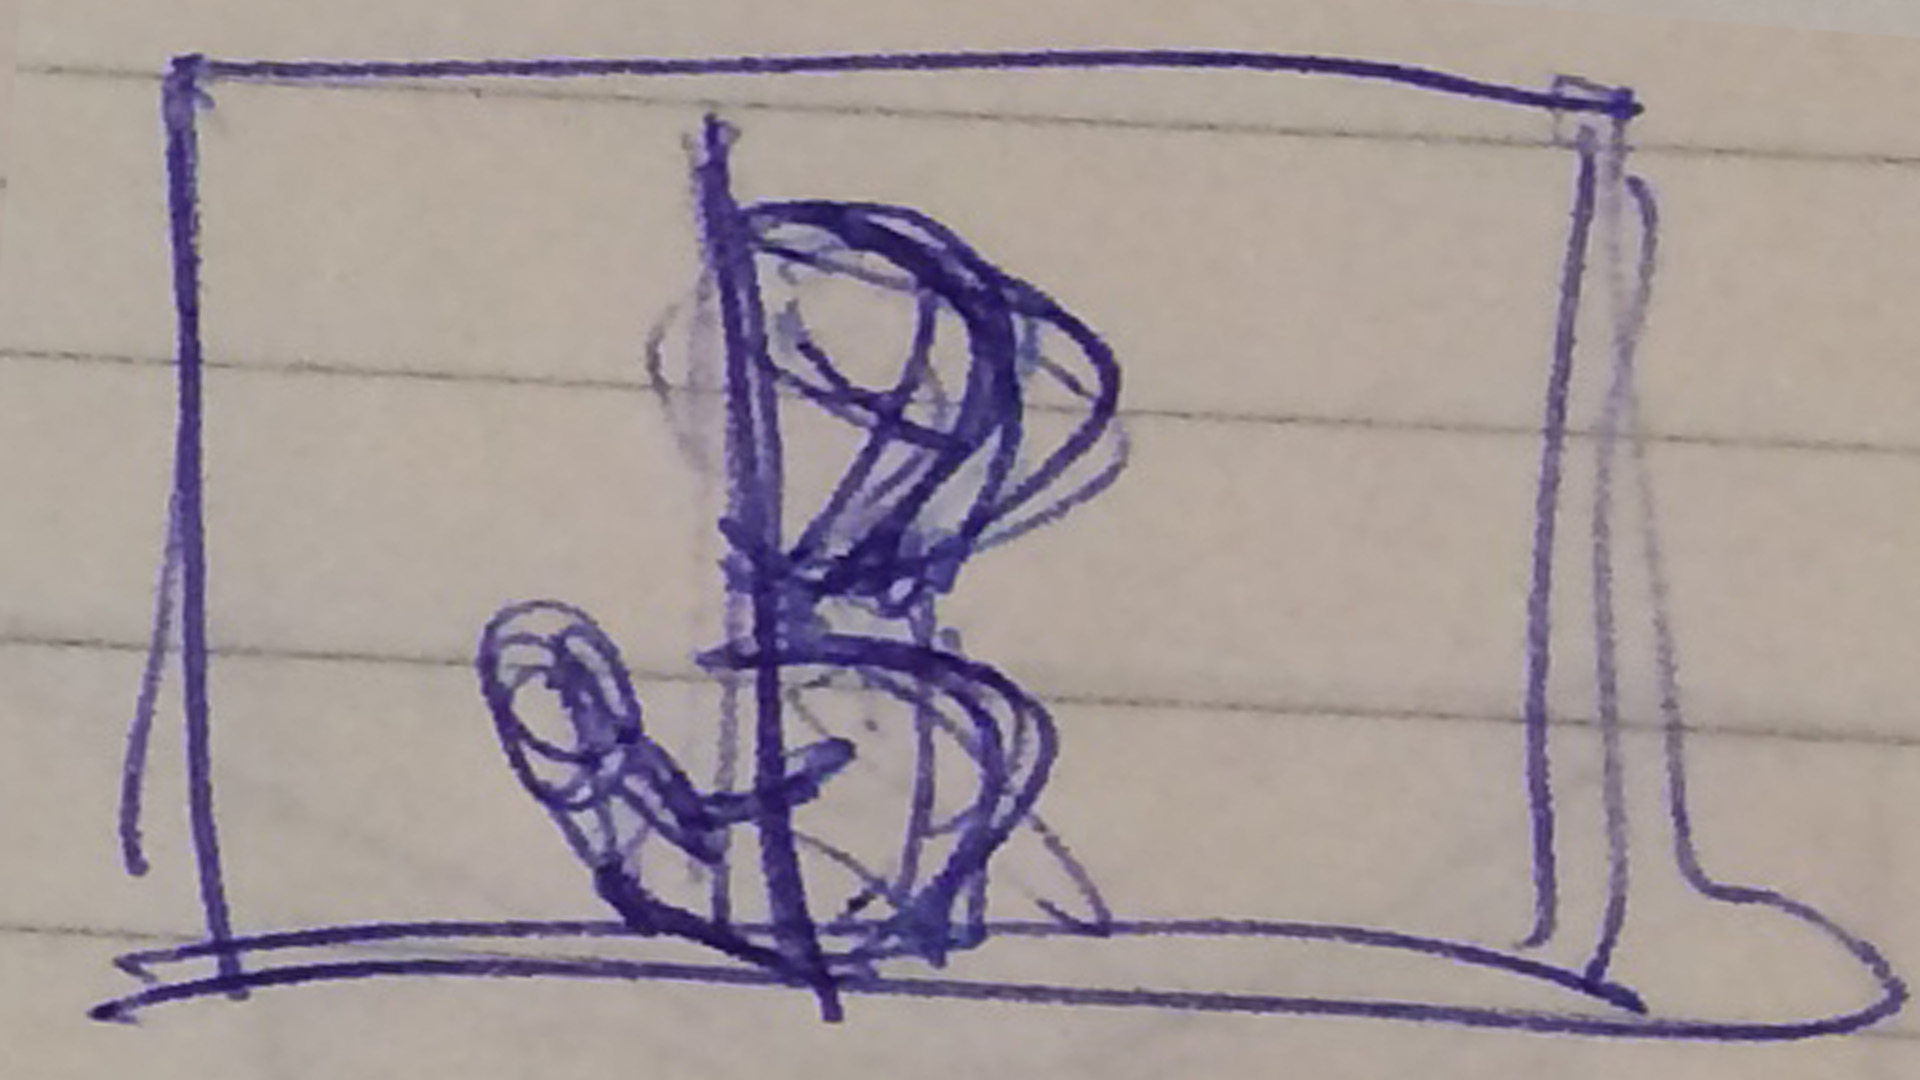
The original idea was to have her creep around the corner in trepidation but the shot was changed to dolly out with her as she approached the door. The cautious feeling she has is still brought across despite finding a new way to capture the scene.
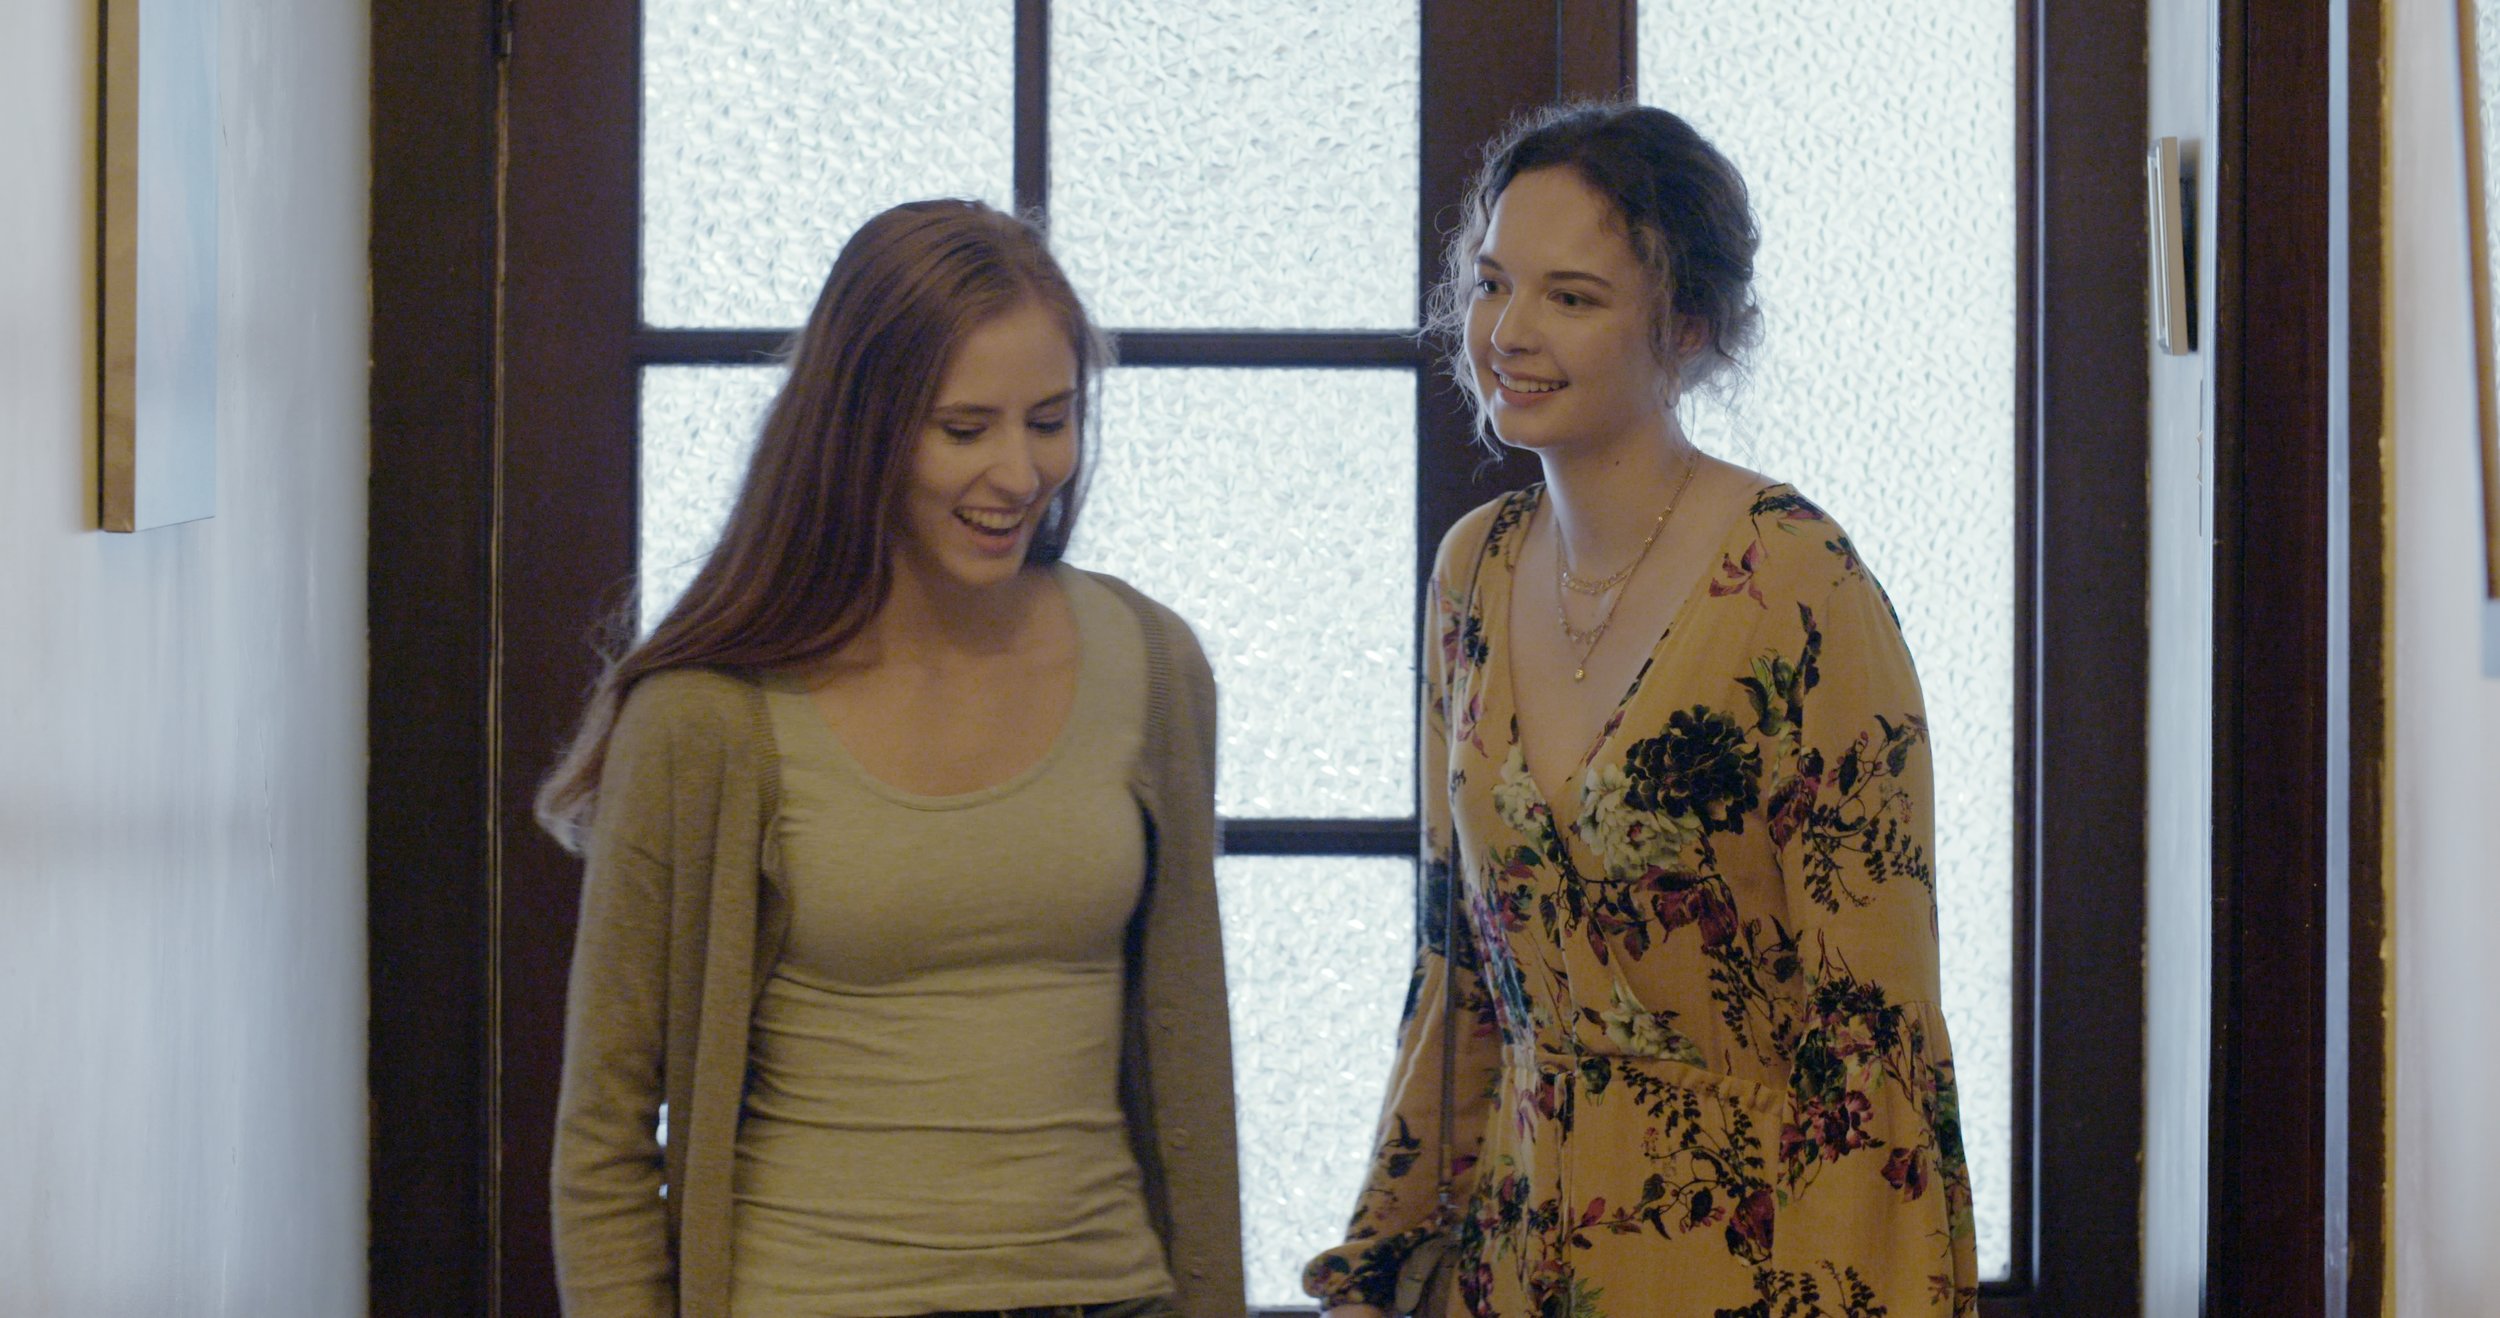
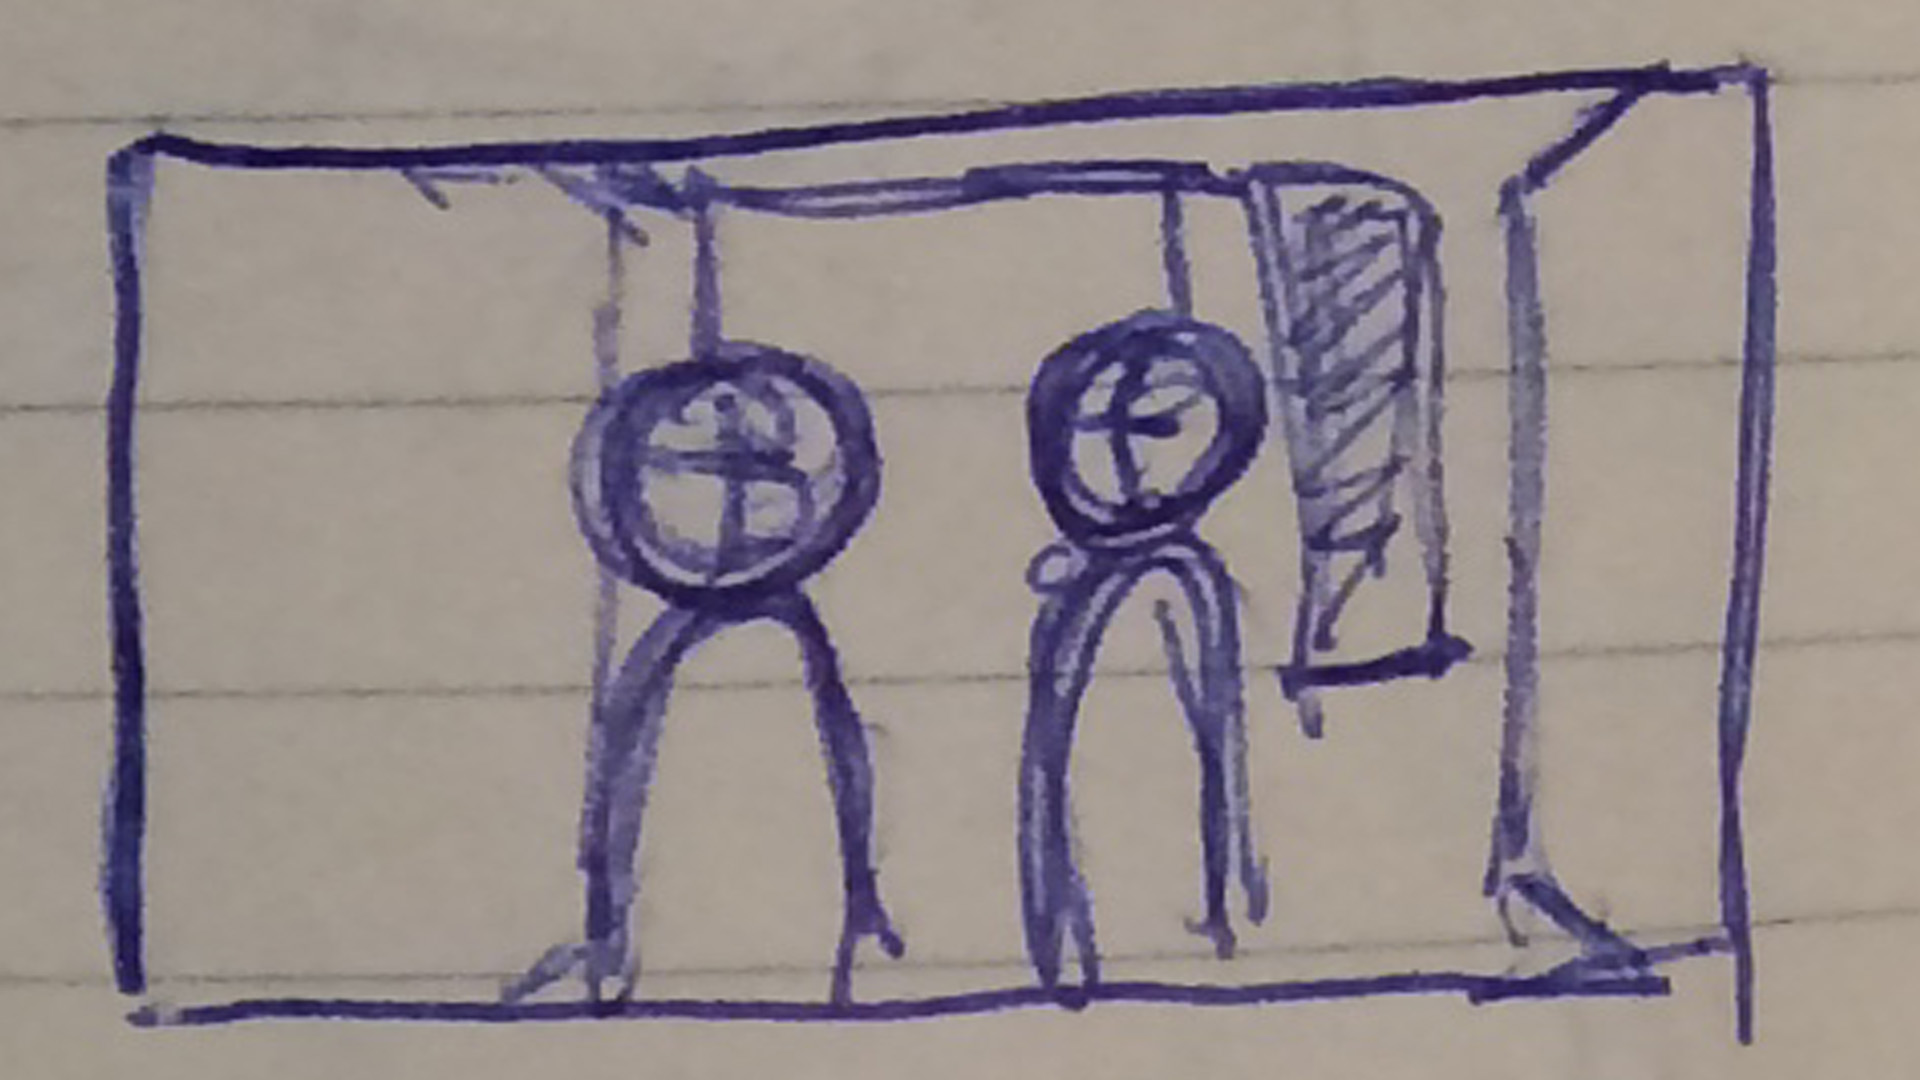
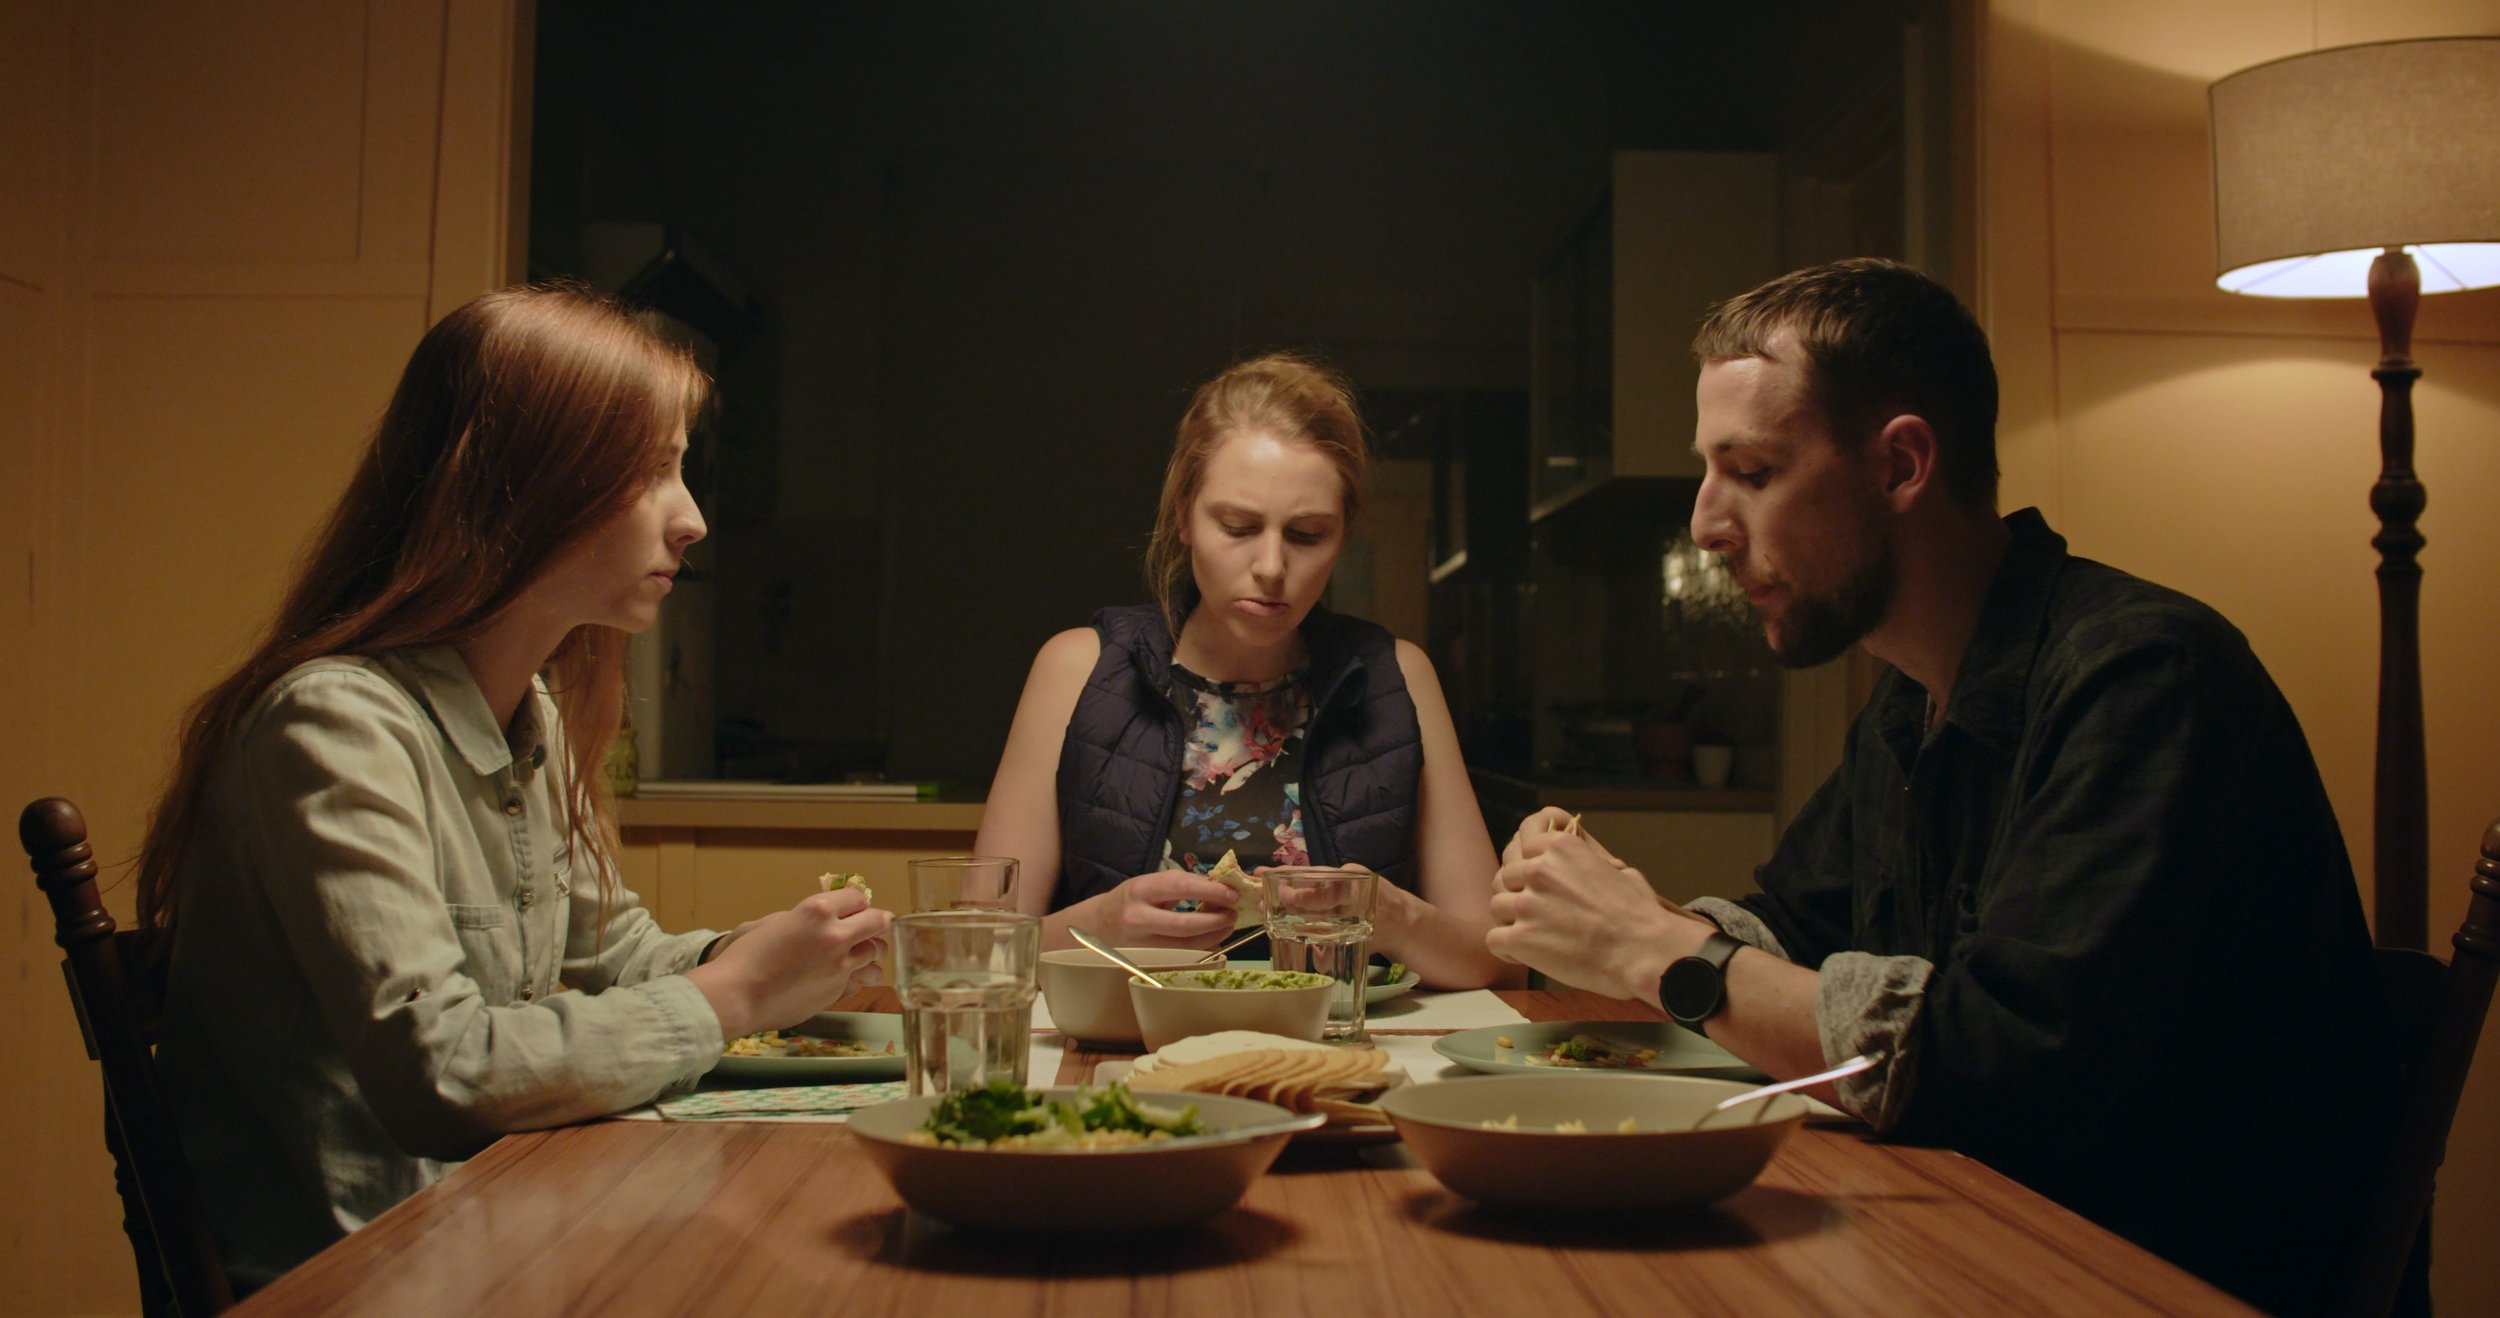
Half way through the film she seems to disregard the door when her friend arrives but I decided to frame the door in large behind her to say that it's always in the back of her mind and it isn't going away so easily.
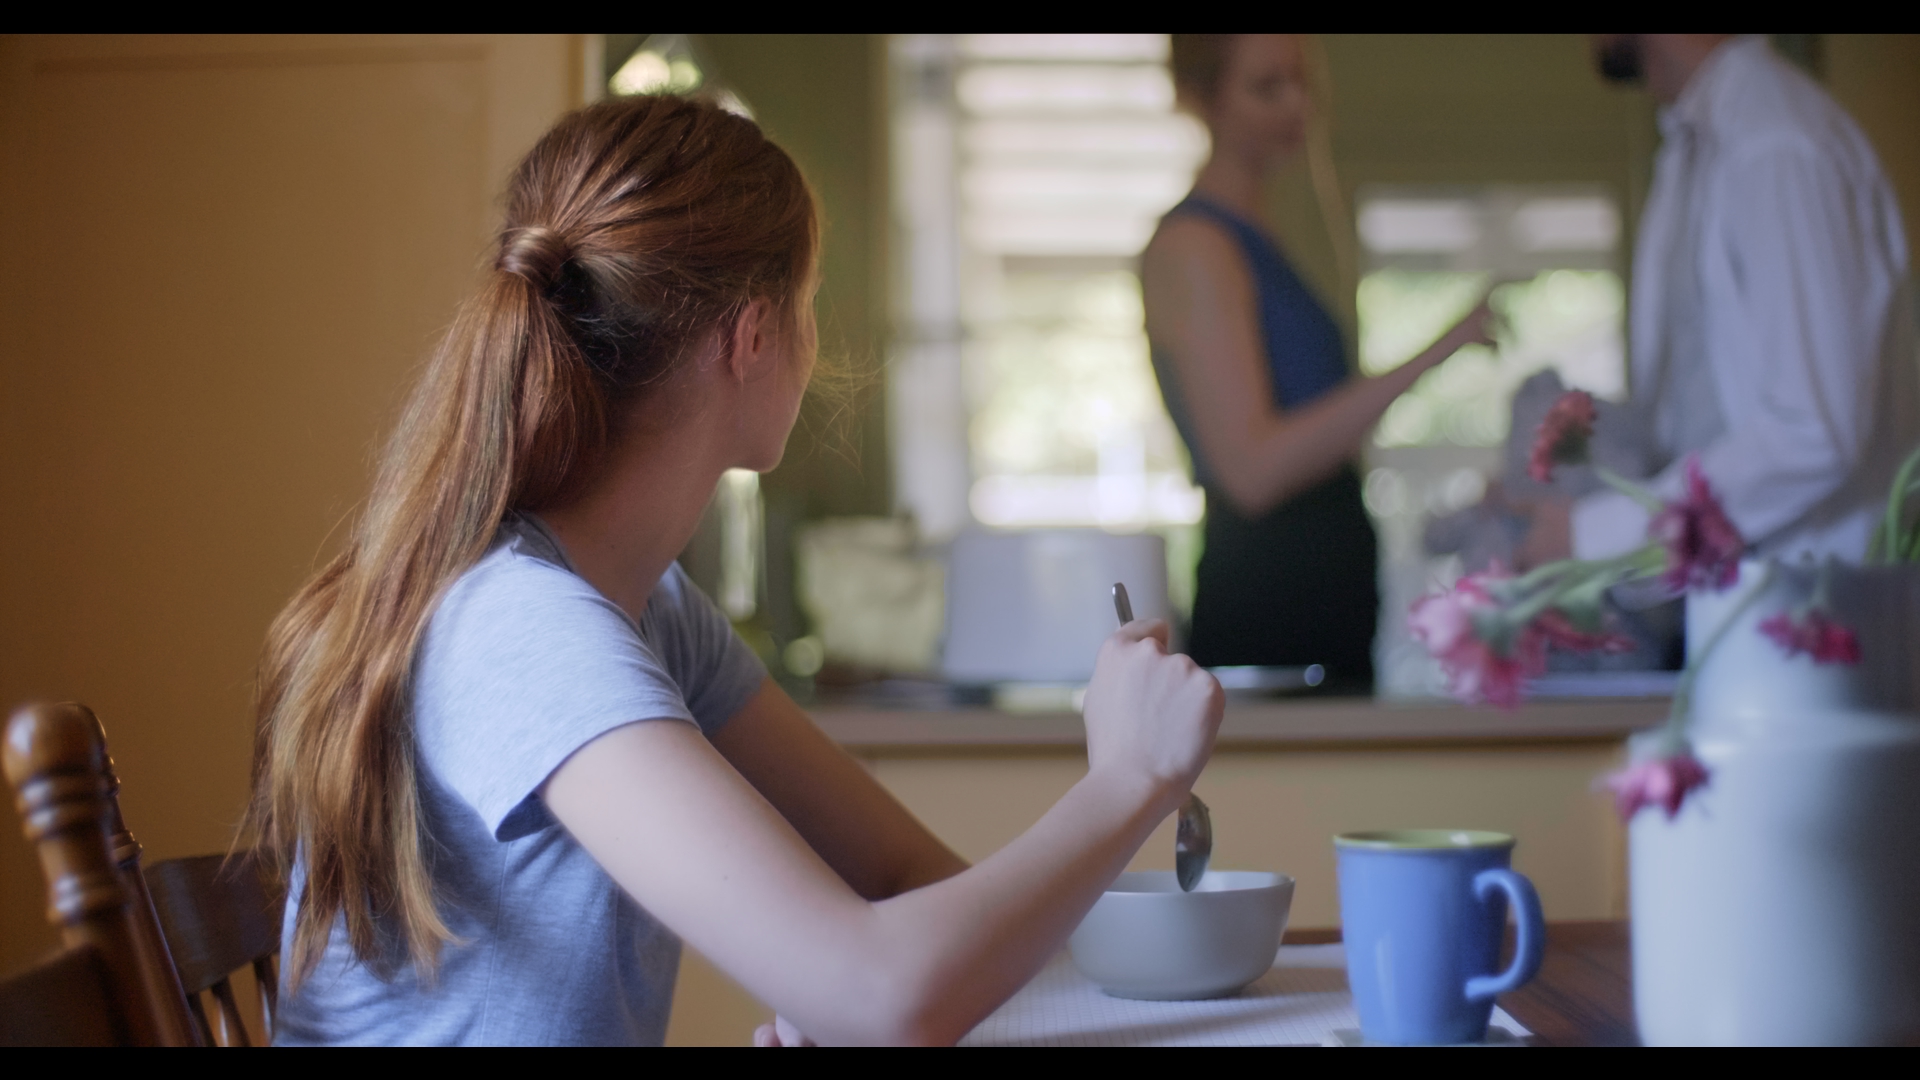
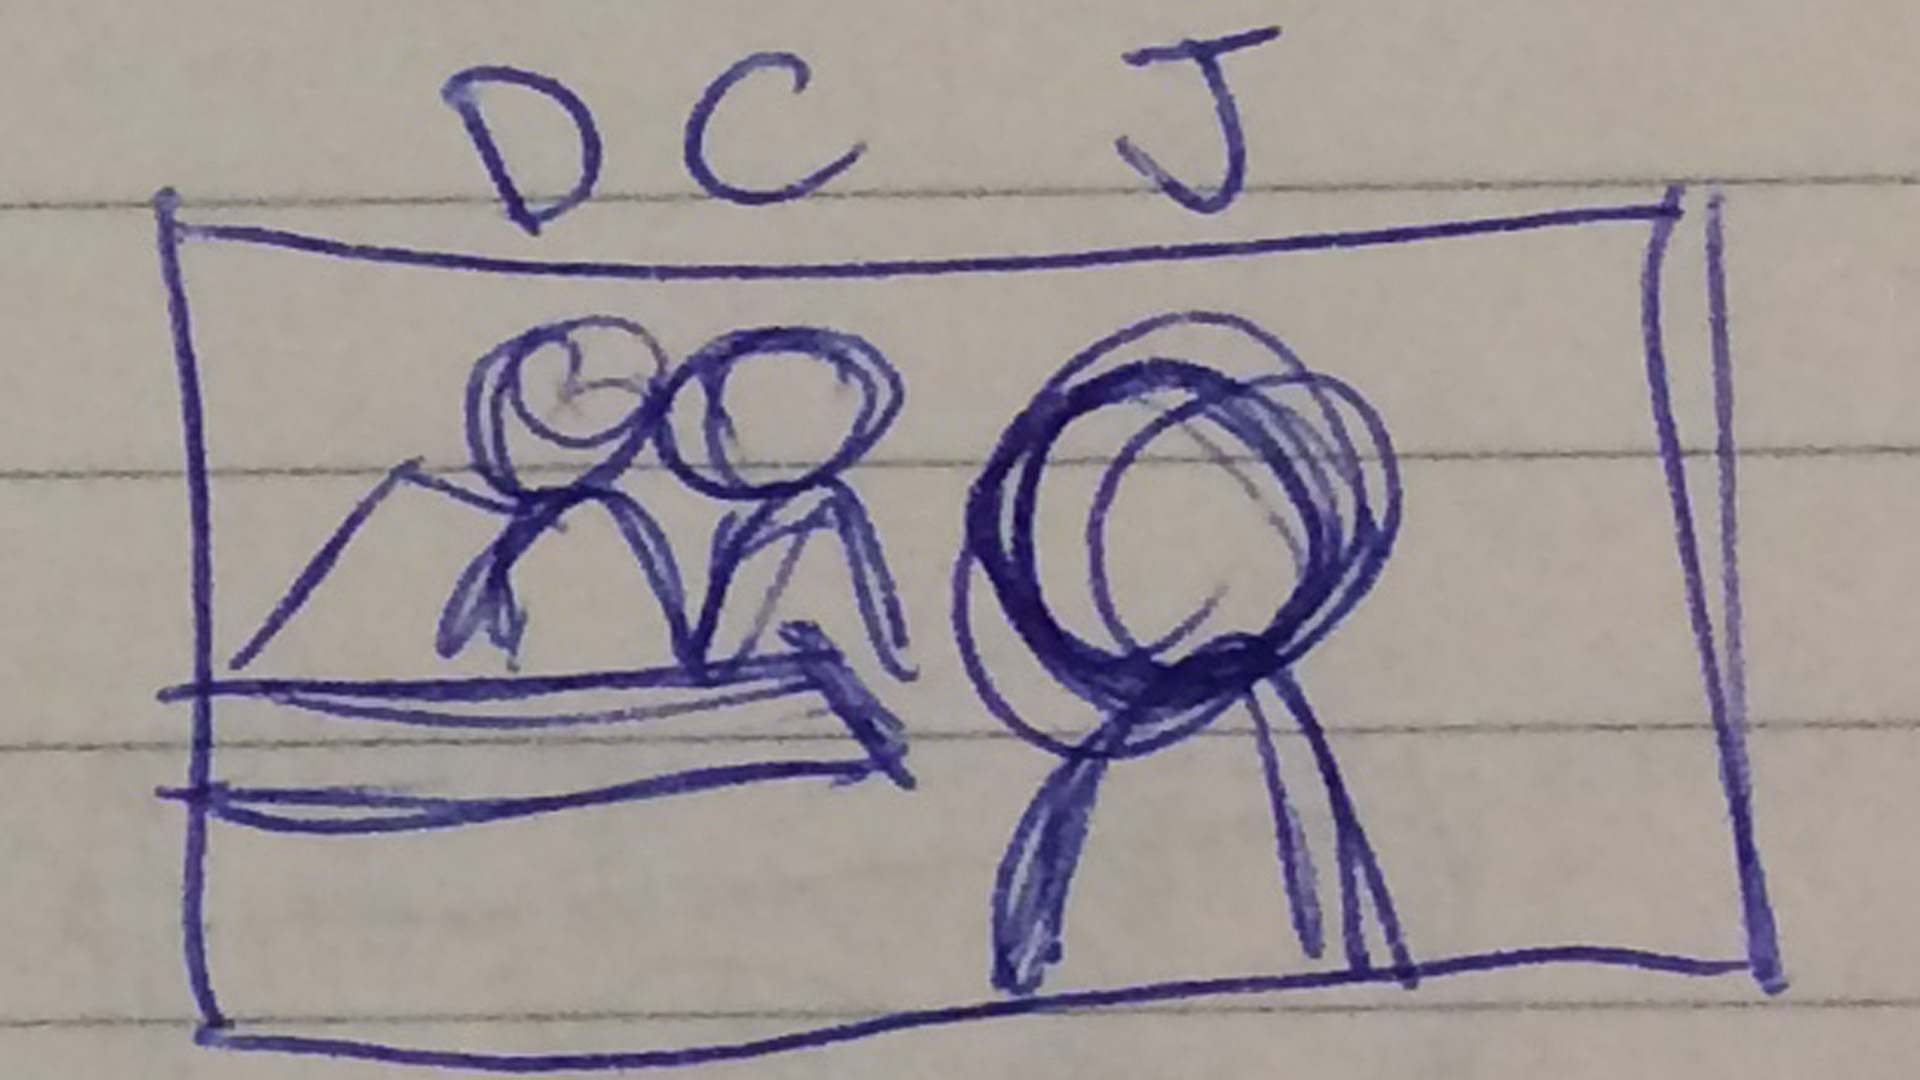
We never shift focus off Joanna during this scene because the argument happens in the background and is just an event around her. She's not focused on it and is like another thought at the back of her head. it's there but never clear.
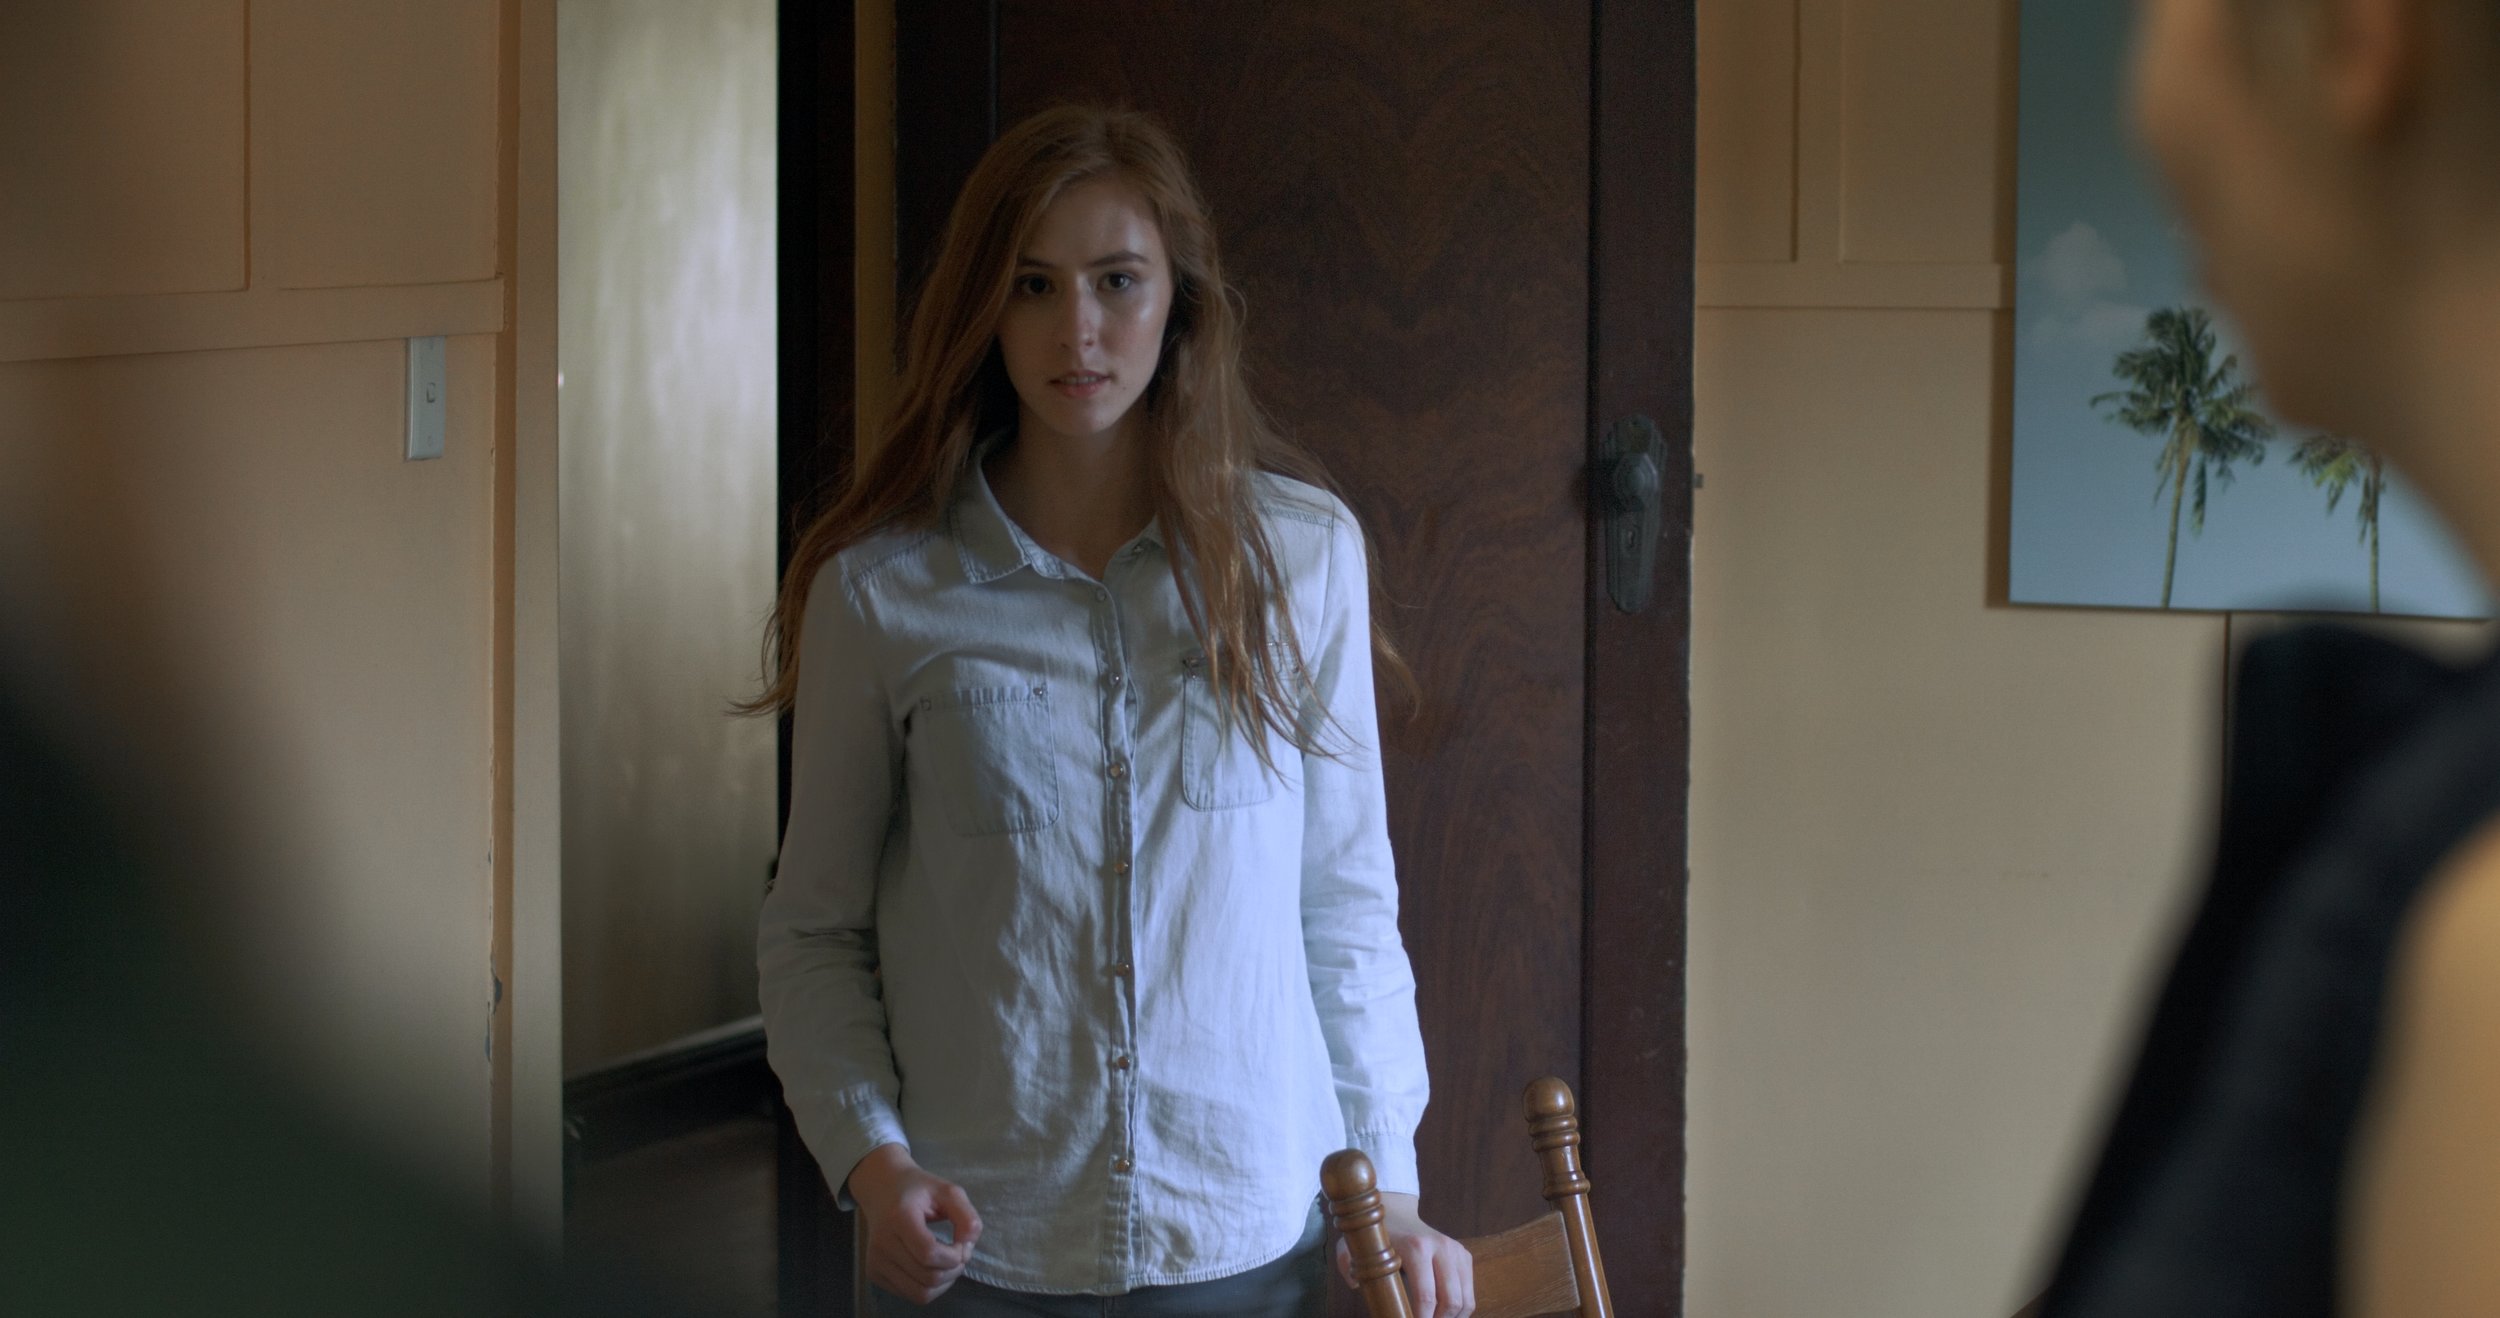
Early on in the film I tried to establish the significance of doors as something that is trapping Joanna in her mind. I tried to keep her framed inside doors and windows and it was something which I tried to keep reoccurring throughout out the film.
Set ups
The film was shot primarily in 4K on an FS7 in Slog3. This was the second time that I had the opportunity to DOP with this camera and I am enjoying it's flexibility. My own Blackmagic Production 4K camera was used as B-cam during the dinner table scene when we had to shoot multiple OTS set-ups for coverage.
There were a couple new sets ups that I experimented with in this film which I hadn't done before which I was very excited to try. The first experimental setup was a dollie made out of PVC pipes and milkcrates. I had always thought that dollies were underutilised in the low-budget indie film scene which made me very happy that we had one for this. The other set up which I experimented with was during a dinner table scene where the characters ate while talking to each other. I knew that I wanted to use china balls to light the actors from above and it took me around 1.5 months to finally get all the working parts together and it paid off. The scene is one of my favourites in the film.
The Dollie
The base of the dolly was originally just a wooden platform on a set of wheels on 1.5m long PVC pipes. We made a larger base using the red crate that allowed us to expand the tripod legs but it still restricted the height at which we could have the camera at.

One of my favourite shots of the film was a dolly shot where the character starts off screen and walks into the frame and ends up in a close up. We didn't originally plan to shoot it like this until the night before. The set up was one of the larger ones we had to do for this film as we had to make use of the whole house. The floor plan below shows how the lighting and camera was set up.

A

B

C

The path of the actress is marked out from A to C on the floor plan. It was a relatively simple motion for the camera (6), we started moving backwards together with the actress when she reached point B and stopped at C. The difficulty was in keeping focus as the dolly moved back as the actress moved forward. Overall we took 7 takes of this shot. Camera settings were at f4.0 on a 50mm.
Window 2 was blacked out so that the actress would be kept in silhouette as she approached from the kitchen. Window 3 was actually a side-door which we blocked with a bookcase in front and some blacks on the outside so that we could pass it off as a wall. The kitchen was lit by a shining a 2 bank kino-flo (1) into a diffuser with a full CTB.
In the hallway we had an Aputure LED light (5) at 50% with a CTO gel bouncing into the wall to simulate a lamp in the corner. The practical lamp was actually switched off because the open top spilled light everywhere and the hallway became much too bright. Using just the LED let me control the direction and intensity of the light alot more specifically. The key light (4) is meant to simulate the moonlight shining through the front door which we made using an Aputure 160d draped with a diffusion cloth and 2 Full CTBs . The smooth transitions from darkness to lamp-light and then lamp-light to moonlight was the reason why this is one of my favourite shots of the film.
Dinner Table - China Ball
The set up in reality was pretty straight forward. We shot the scene at 4pm in the afternoon and had to fake the interior to be at night. We blacked out the windows (1,2,3) using blankets and curtains to prevent any light spill into the room. The china ball used a 2700K dimmable bulb wrapped with 1/4 CTO to give a nightly tungsten feel. I wrapped a small blanket over the top to act as a skirt and prevent spill on to the wall and ceiling. Without this wrap the light would also bounce into the kitchen and walls increasing the room ambient light making the foreground harder to separate. The bulb in the lamp (5) was also a 2700K dimmable that we used to just break up the blank wall in the shot. Camera white balance was set to 5500K and f2.8 on 35mm.


The inspiration for this shot came from the movie 10 Cloverfield lane, whose plot is similar to Joanna where the protagonist is trapped in a house and wants to get out. Below is a comparison of the shot from the two films.
Joanna

10 Cloverfield Lane
Angel Shot
One of the more interesting set ups we had was a high angle shot looking down on our protagonist as she looked out the window. It was a relatively tough set up because we were running out of time on the day and we had to set up the jib and moonlight. The camera was placed up high on a jib looking down with a 50mm. Our light sources were 2 Lupolux (1) at max power angled down into a diffuser (3) to simulate the source and direction of the moon. A small lamp near the head of the bed (2) gave just a little bit more light to illuminate the actress.

Bedroom Angel Shot Set up
Joanna Bedroom high Angle
Colour Grading
When it came to colour grading the film, I already knew what tone I wanted to get from certain scenes. The colour of moonlight, the nightmare sequence and interior dinner scenes were planned just the way they are and required very little manipulation in post. Every shot was graded manually and no LUTs were used. In this section I will breakdown two of my favourite shots to colour.
The Opening Shot
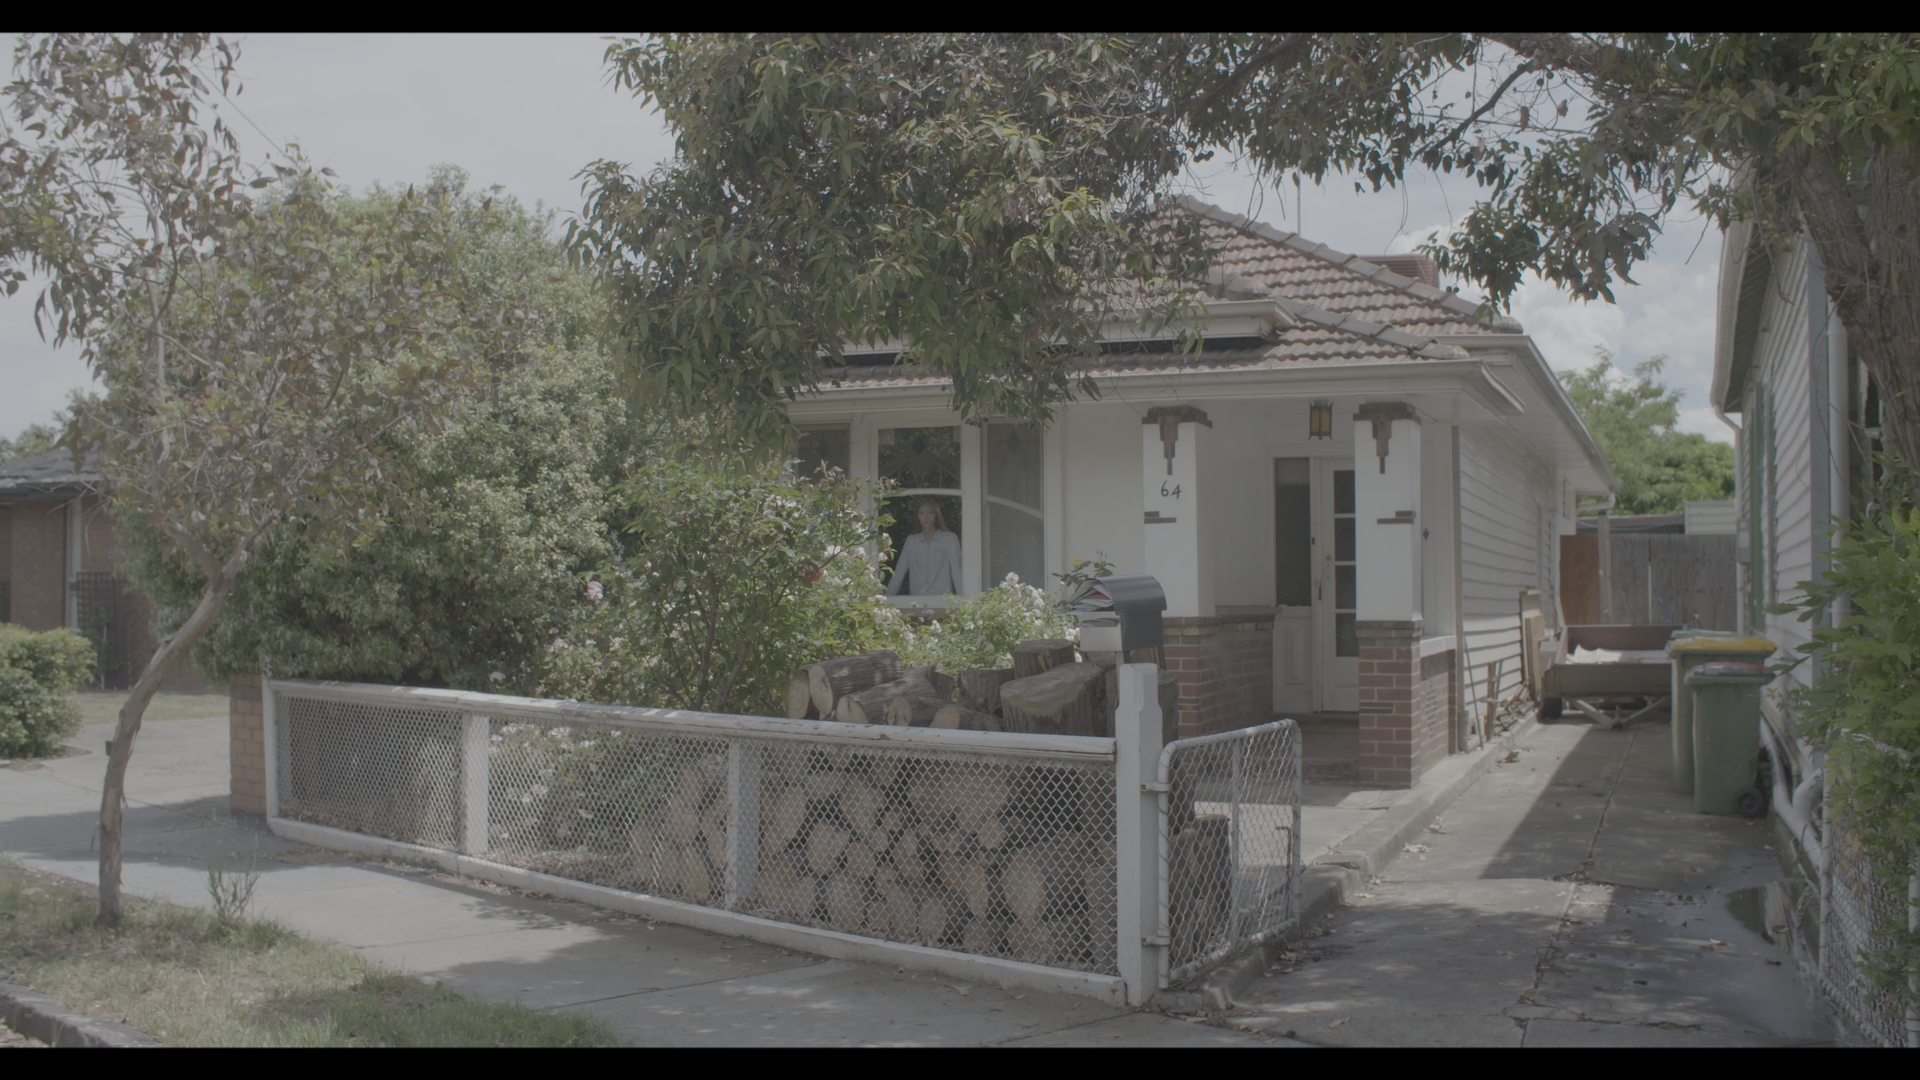
This is the shot that opens the film. The warm tones are meant to create a feeling of comfort which Joanna locks herself away from. She longs to be outside where the sun is shining.


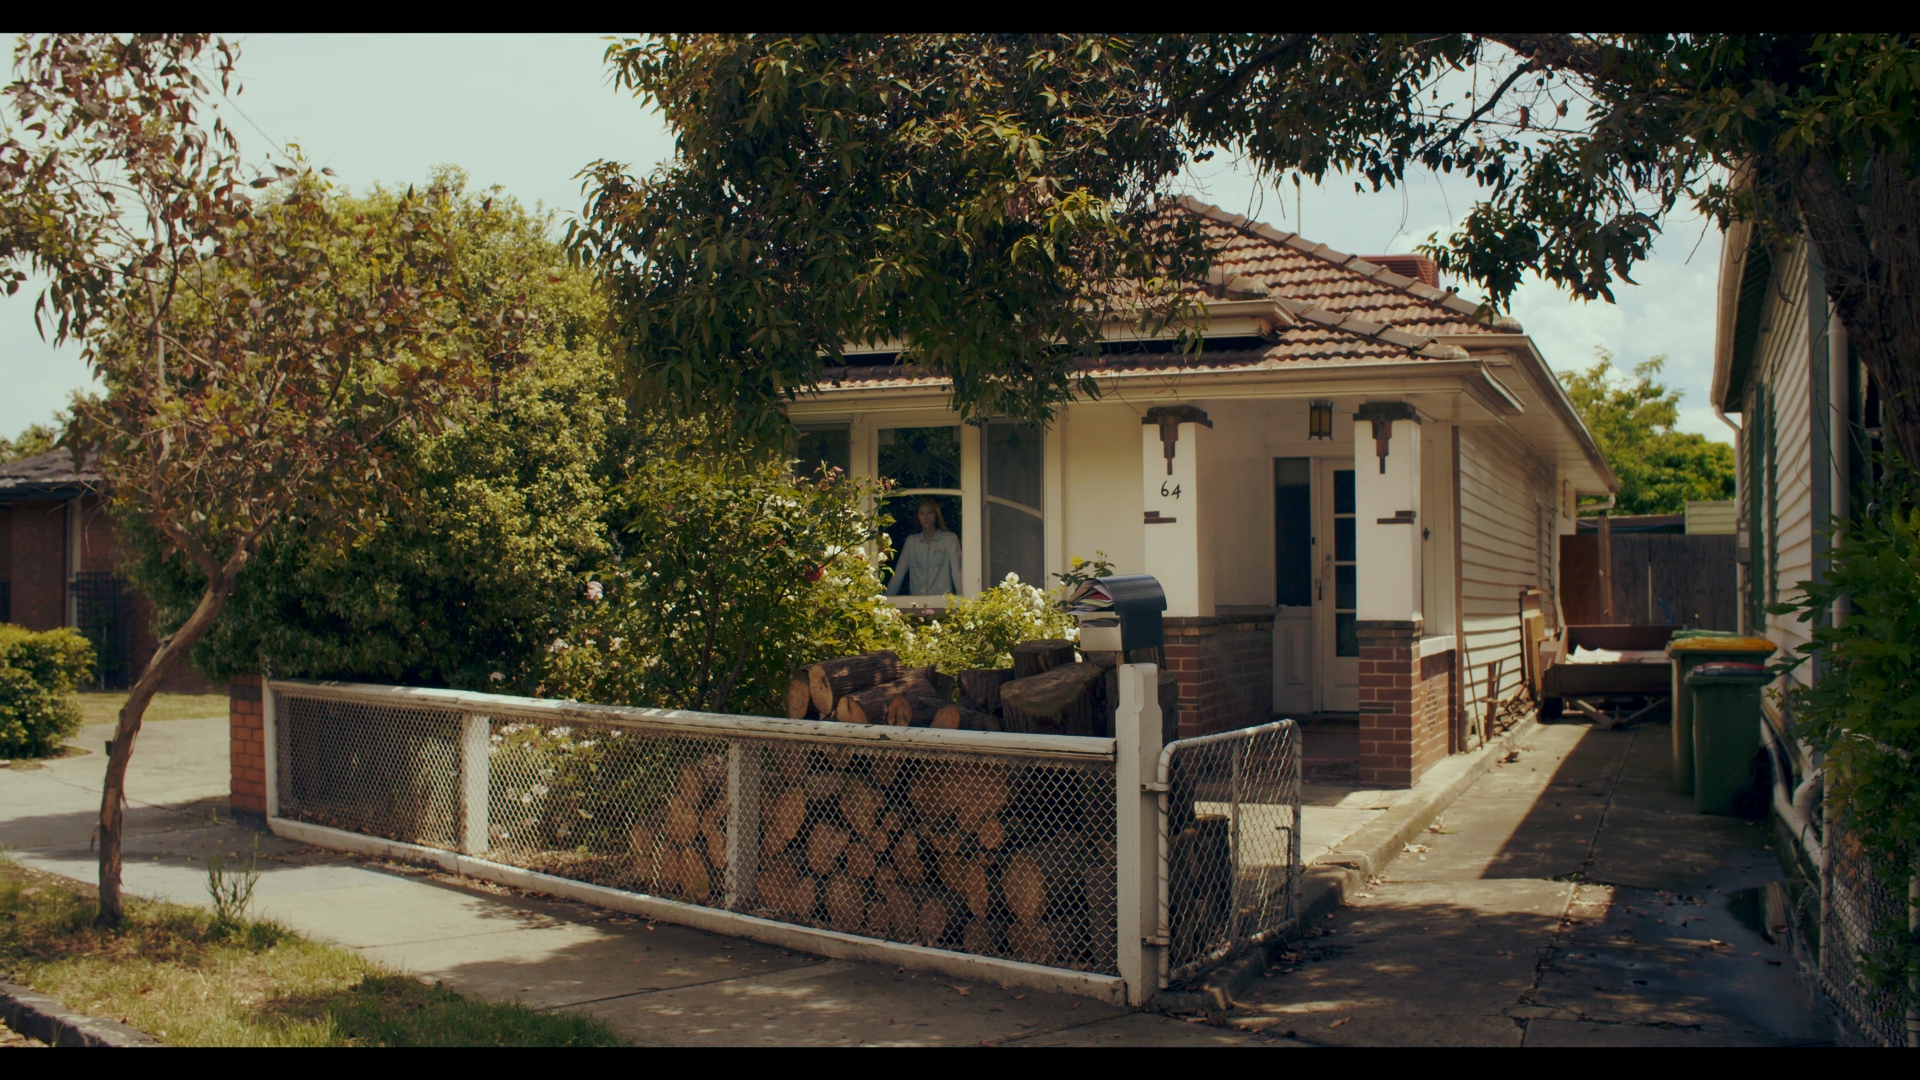
The first step which I did when I got the footage was to set the overall exposure and contrast. I added some warmth into the mid-tones to make it look like the sun is hitting the house and sidewalk. Some hint of blue was added to the sidewalk shadows to cool it down. The green hue of the trees had to also be tweaked individually to match.


Next I tried to bring focus to where Joanna was standing. I masked the area where Joanna was standing and brightened that part of the image. The change is ever so slight but it helps to bring out the subject. You can see that her face and shirt is slightly lighter and the walls are cleaner.


Finally I lowered the highlights and added some colour back into the sky so that it wasn't just plain white. You can just about see the clouds better and it gives the sky some more depth.The colour I chose was a soft teal in order to get that film-like feel and also gave a more inviting feel to the whole environment. Once again the tweak is very minimal but it's impact is strong.
The Angel Shot
The high angle gave the character some vulnerability and we feel that she's weak. An important thing to notice in the film is that we as the camera are always in the characters eyeline or eye level. When she looks up, we are there looking down on her, when she crouches, we follow her movement downwards. The purpose of this as per the directors request was so that we are always with her. We don't want to separate the audience from her experience so we will always see the world as she see's it. This was also a cool angle and the only jib shot in the entire film.


As normal, the levels of contrast and brightness were adjusted first. When shooting, the waveform was always exposed to the right which allows me to pull down the shot immensely and still retain detail in the shadows. Initially the colour looks abit pink-purple because of the mixture of the orange glow from the table lamp and the full CTBs on the lights outside. As this was the first scene in the film to establish the look of moonlight I had to make sure I get the tone right.


I wanted to get a look that was more gritty and darker. I pushed down the gamma abit more and desaturated the colours while also adding some green into the hue so that the purple was neutralized. Once I got this look I knew that I was close. It felt much more like the soft glow of the moon.


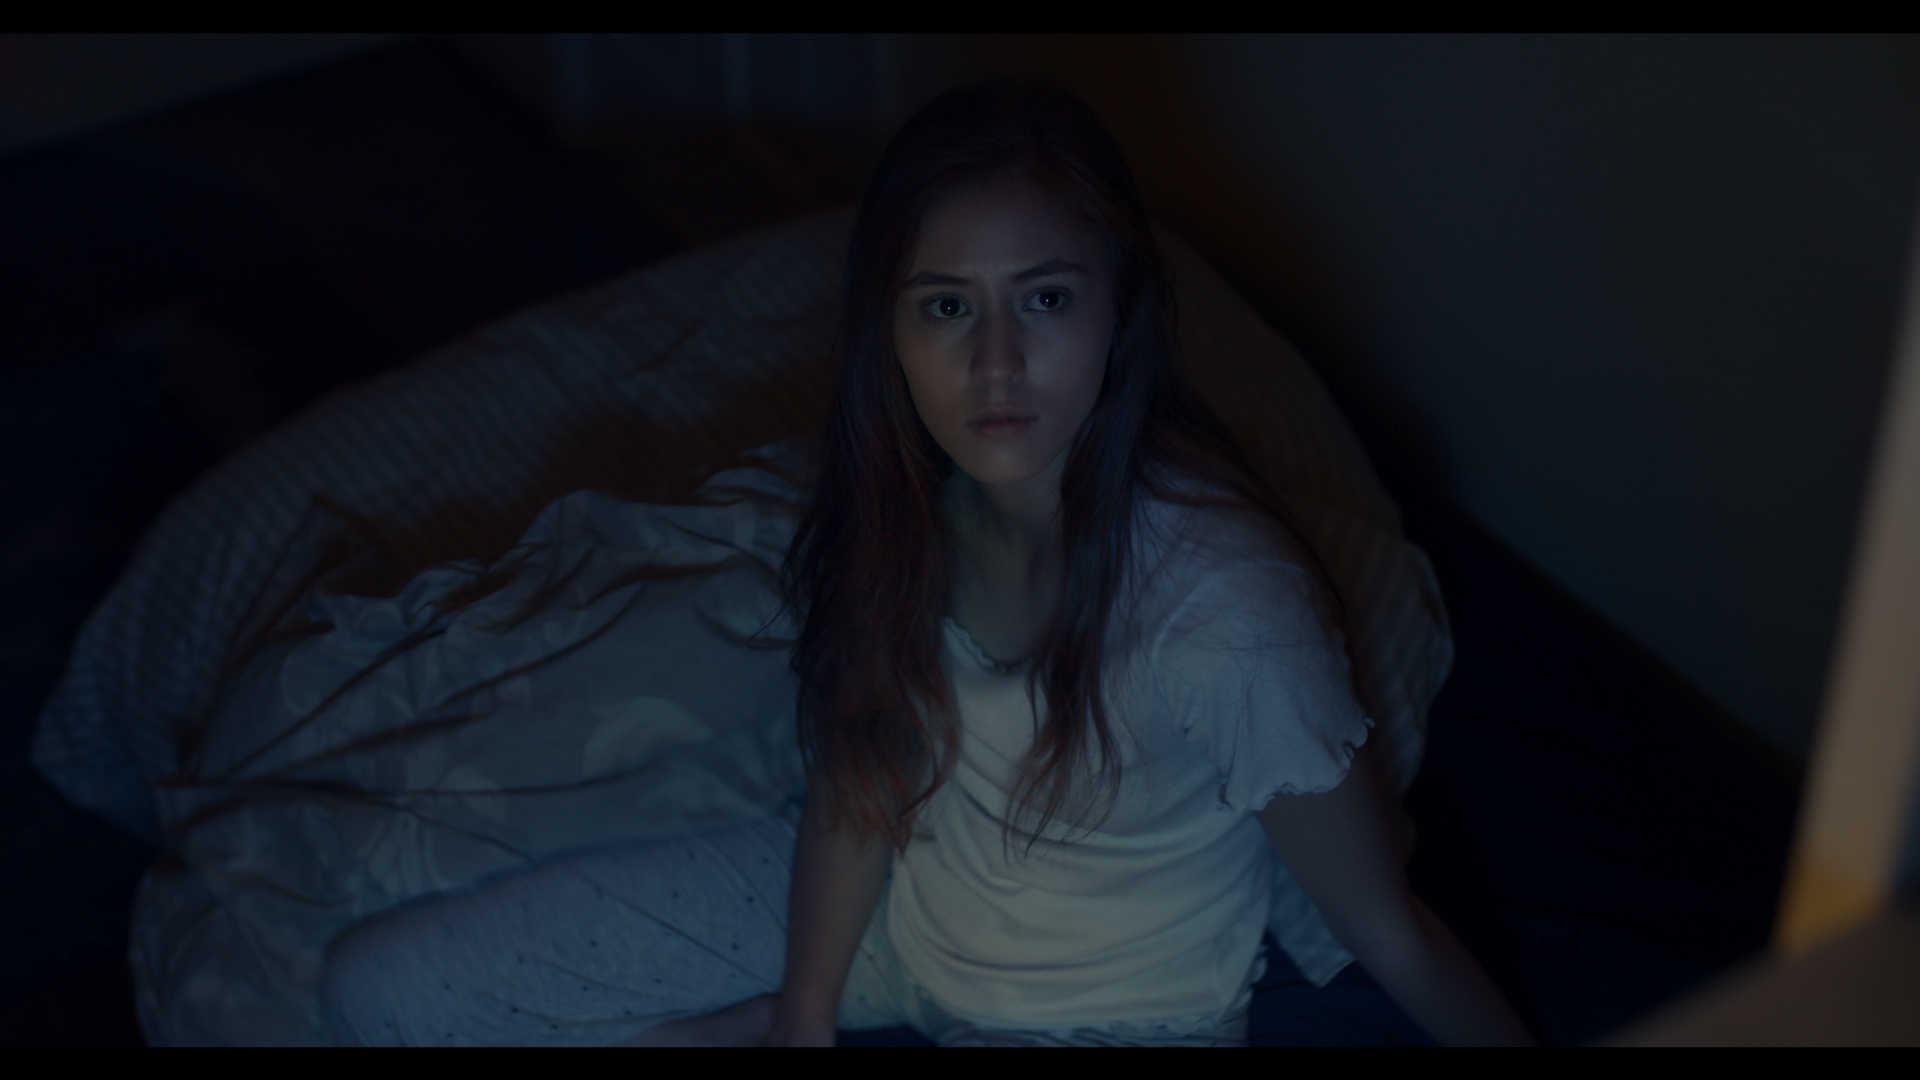
The next step was to bring focus to the subject. I masked around her figure and raised the gain slightly to separate her from the background. You can see that she is no longer the same colour and level of her bedsheets. It's always important to try and highlight the subject no matter how clear it is in the frame. This helps to draw the eye and also gives depth to the image. Because she is closer to the moonlight than the background it still makes sense that she would be slightly brighter.


This next step is what elevates the image to the next level. The previous steps are what you would expect from any colourist, to make the image look real and to highlight the subject. However what I did in this step was to re-light the subject. I felt that the intensity of the lamp was not powerful enough, we can see it bouncing off the window edge on the right but there is no variation in her face. Additionally, the previous shot had a clear side light which was missing in this wide. I had to add it back in to keep continuity and to make my shot better. I masked the face and torso using a feathered gradient which allows the colour to have a natural fall-off. Introducing this sidelight gave her face some variation of colour and a new depth which was much more powerful.


The last step I took was to mask out the background and darken it even more, keeping Joanna the main focus of the frame and selling the idea of the moonlight being very very soft.
Colour grading is a very powerful tool in post-production. When used in the right way it can change a DOP's work and either undermine or propel it to the next level. As shown in my last example re-lighting a subject is one way of undermining the DOP's intention. Luckily I could use it to my advantage here to fix a problem which I was not able to deal with on set.